Access 2 Parks Project: Trails + Overlooks
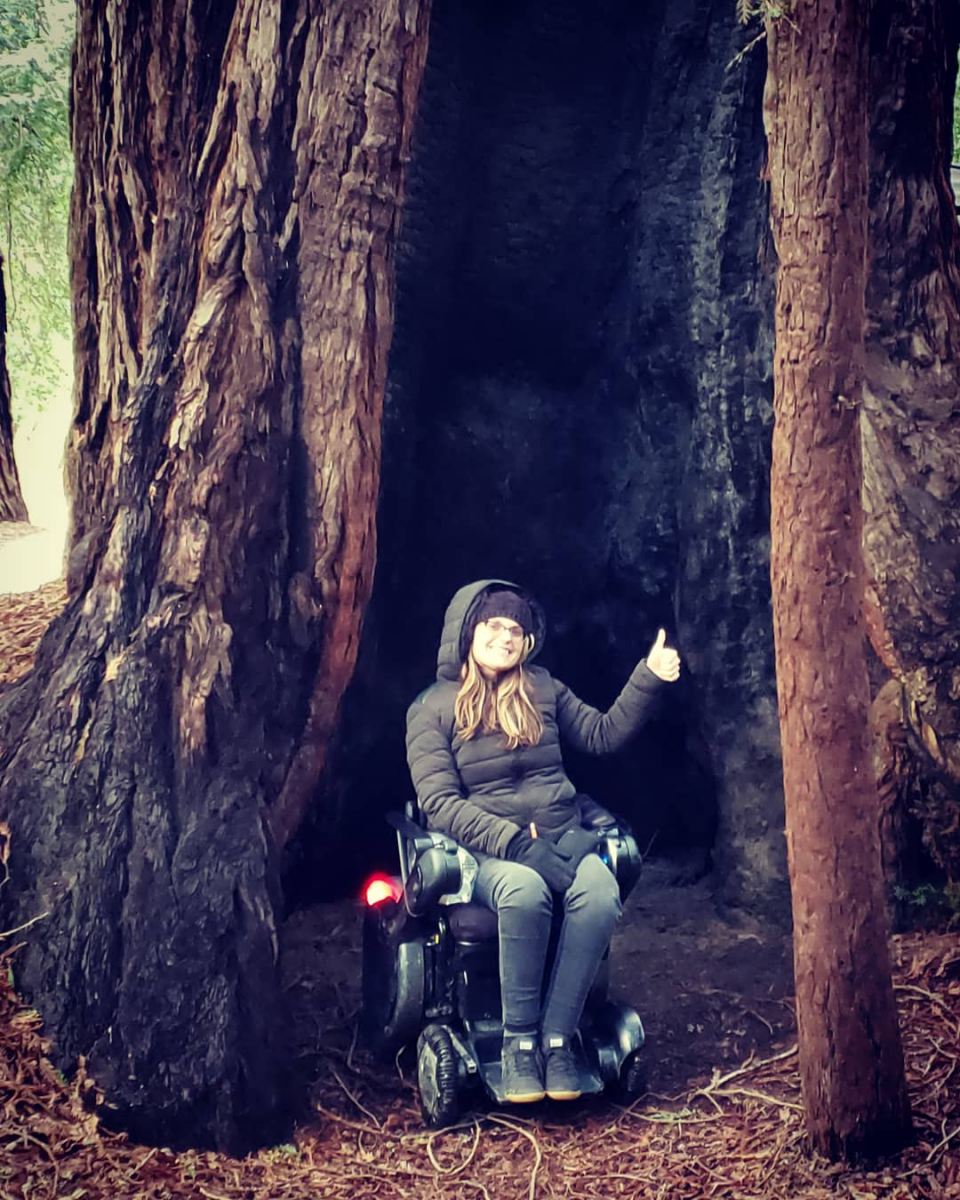
Often the main reason people visit parks is to experience the natural surroundings. Wheelchair access to hiking trails and overlooks are important to reach the park’s scenic points of interests.
Hiking Trails + Paths
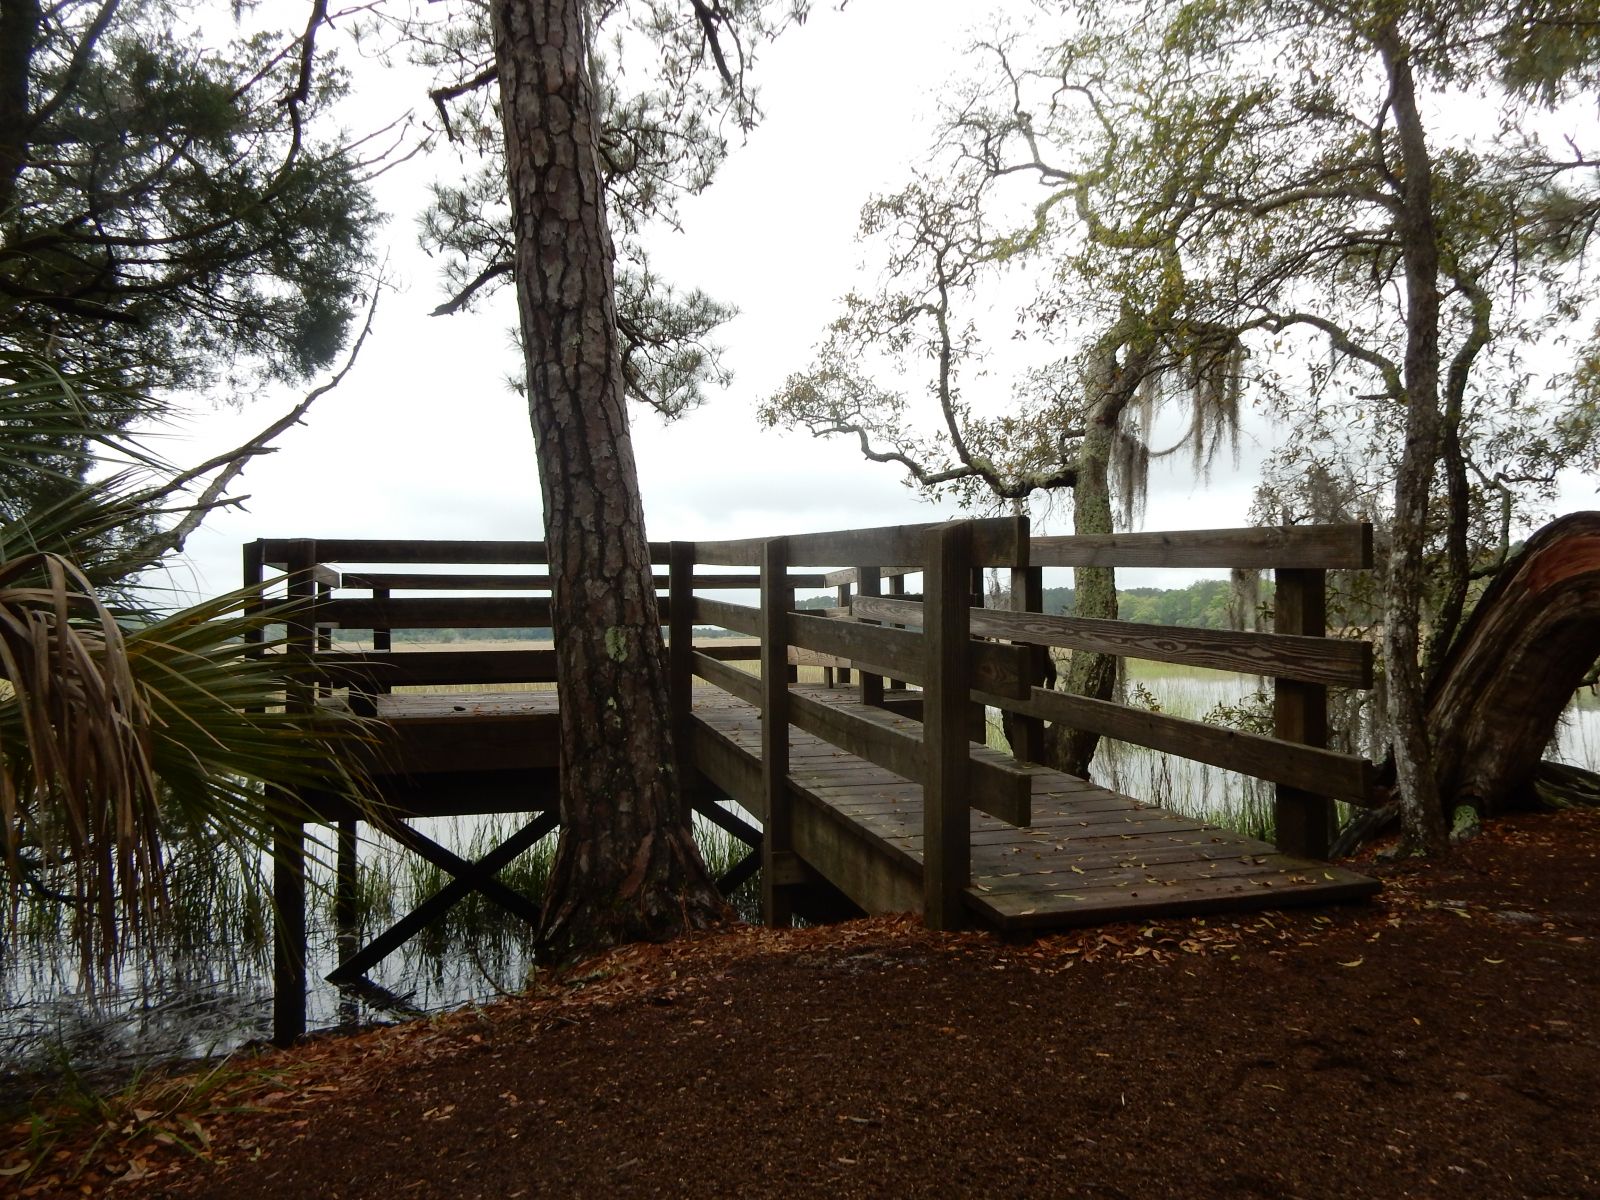
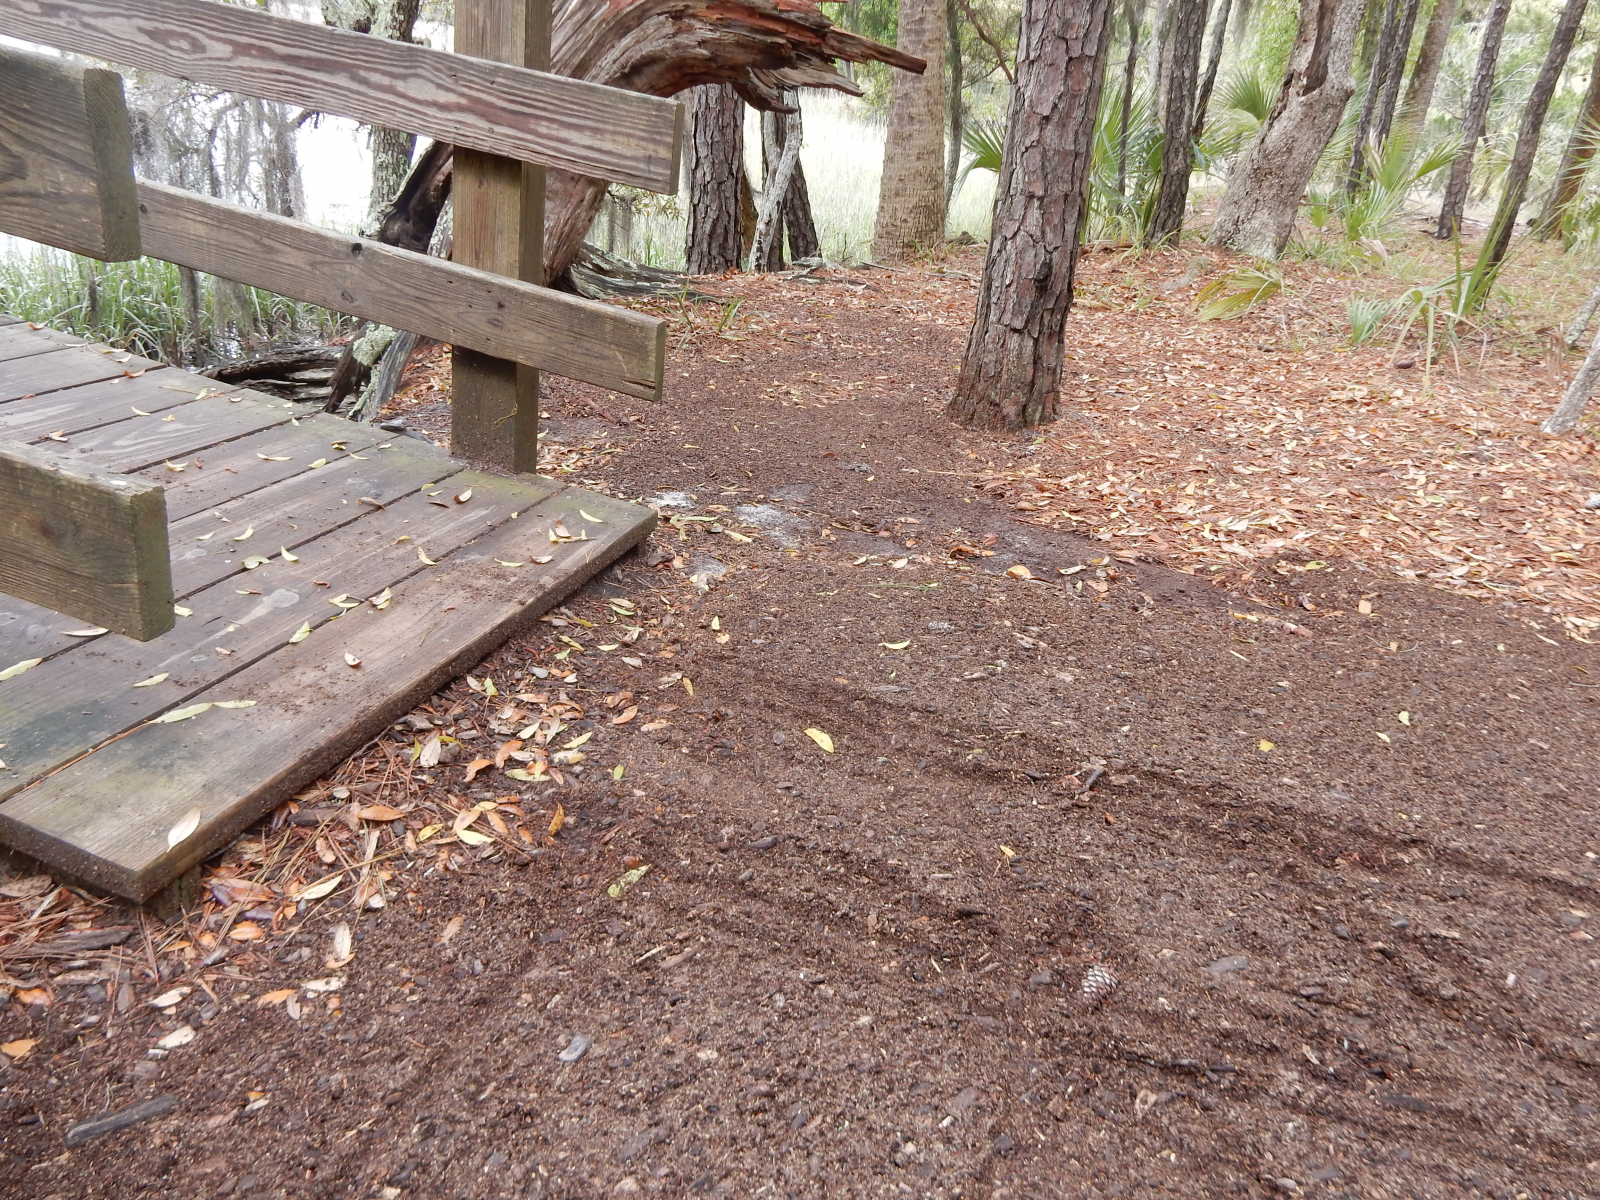
Any hiker needs to know details about the trail being used, primarily distance and degree of difficulty. Other details like trail makeup, width, slope, cross-slope, resting pads, benches, and potential barriers provide a clearer picture for all hikers.
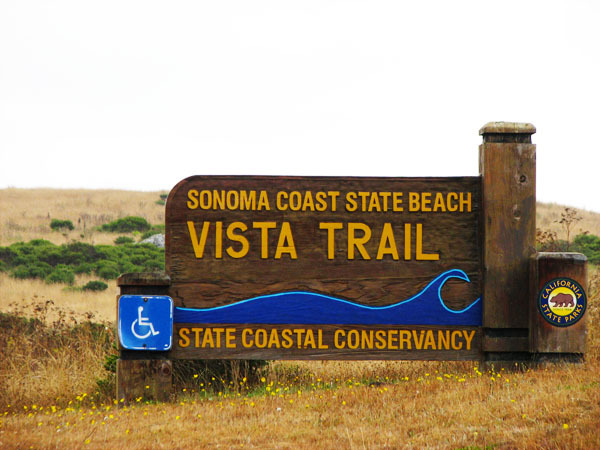
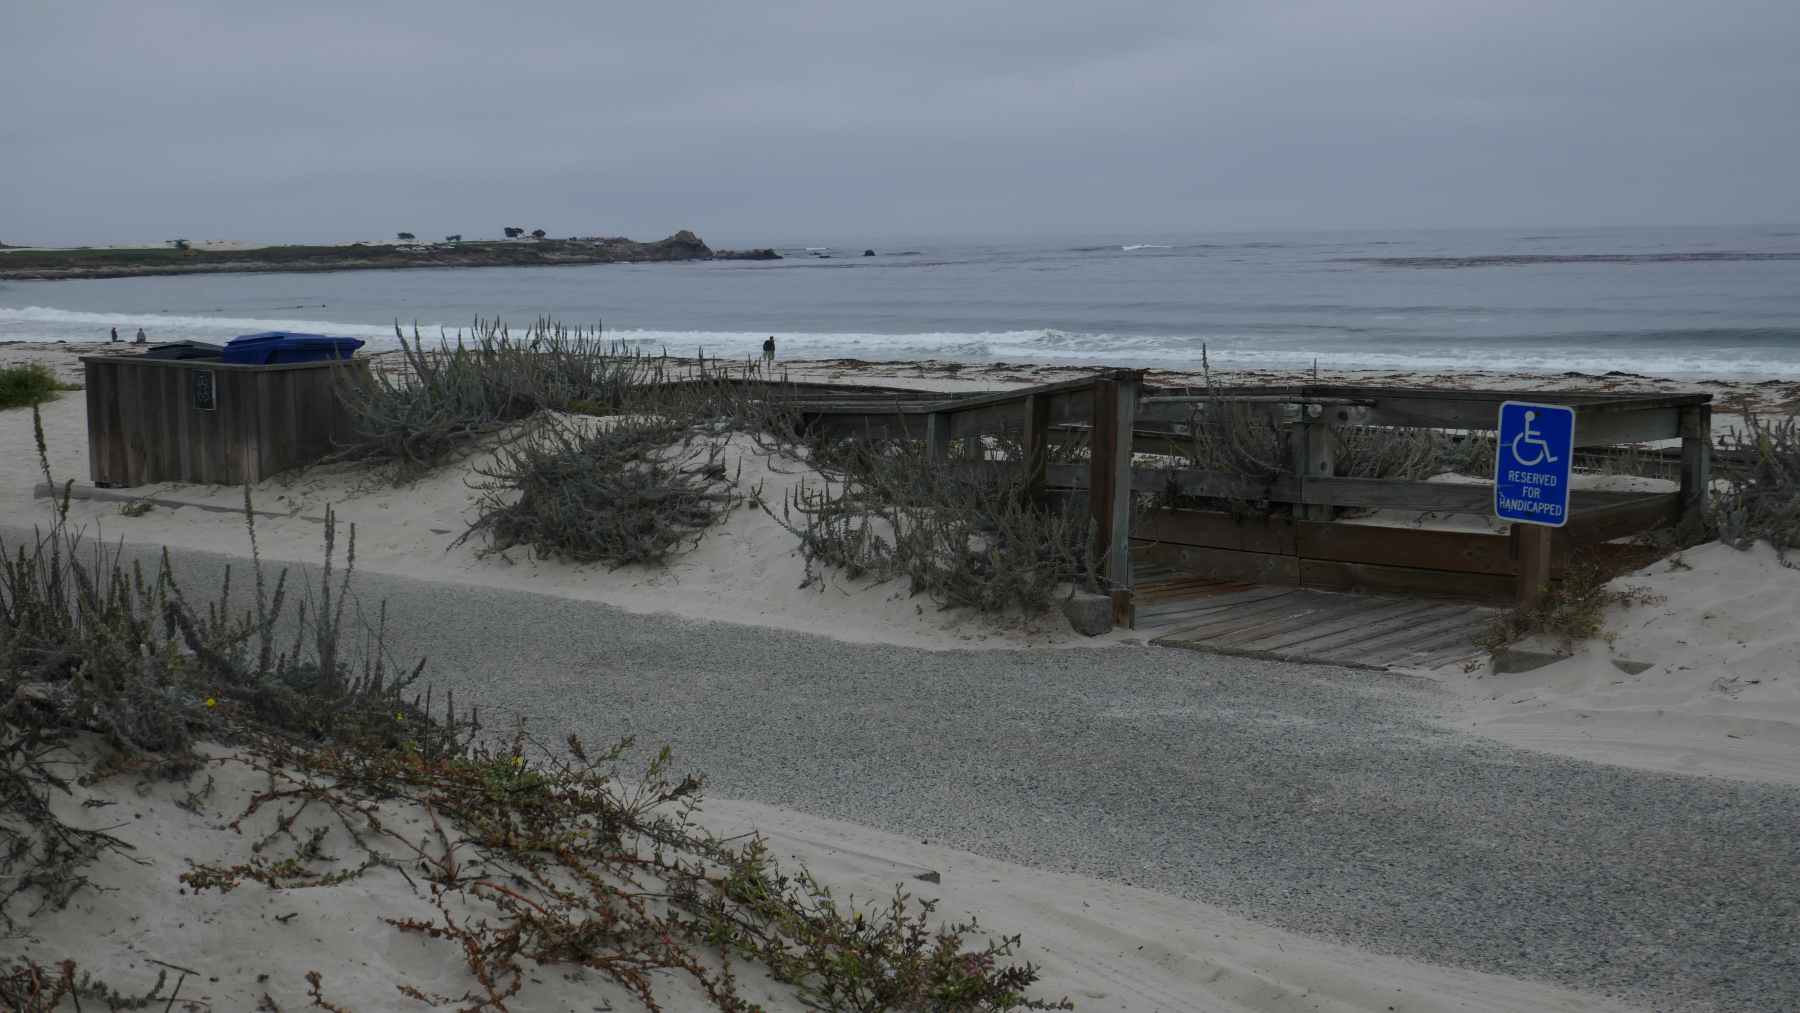
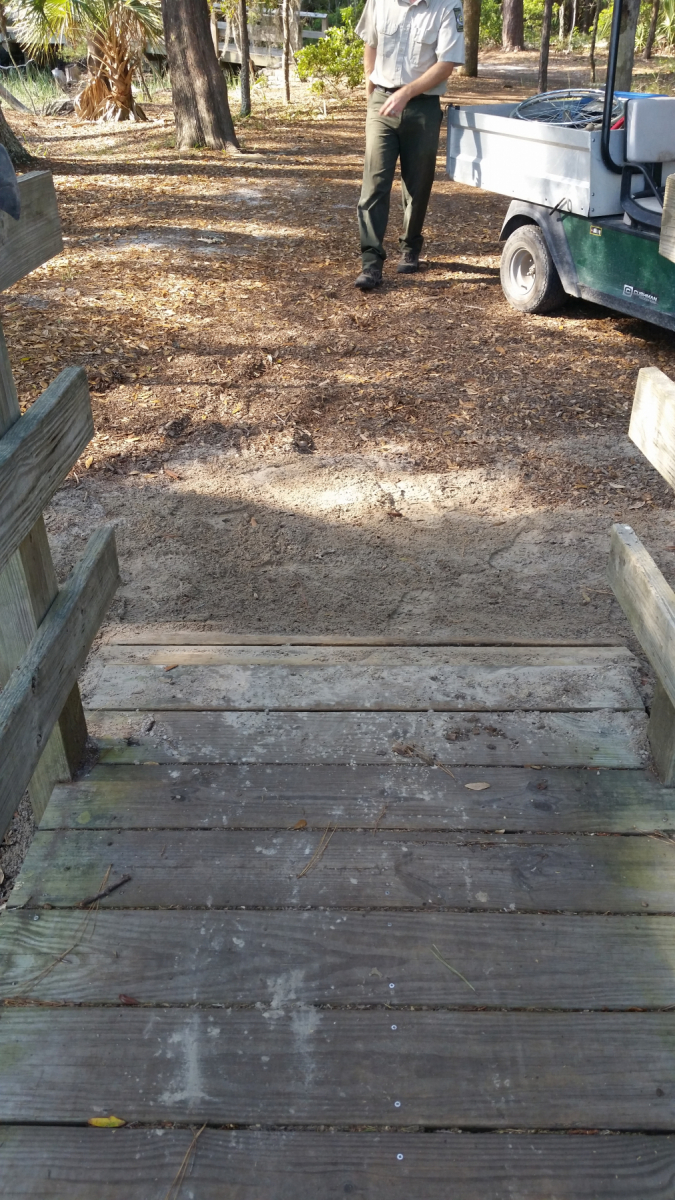
- Trailhead: Make sure a wheelchair can get onto the trail. When fences, poles, rocks, or other barriers are set up, it can often prevent someone in a wheelchair from reaching an accessible trail.
- Makeup: Different materials may be used to create a firm surface. Pavement is not always the best answer. Crushed granite rock is one common example, a boardwalk is obvious, but a pathway made of recycled shredded tires may be the solution. Using natural and recycled materials is a sustainable and economical way.
- Non-Slip Surfaces: Use an overlying metal or rubber net.
- Resting Areas: Level, resting spaces or pads are placed next to benches as a wheelchair spot and when going up or down a steep incline over 5%. They can be used to move out of the way of other hikers or to take photos.
- Handrails: A border or handrail along the trail to guide the path for those with limited vision, and to direct all people where to go and not go, leading to land preservation.
- Obstacles: Be clear and direct about the trail and terrain, like if there’s excessive sand, tree roots, water wash-outs, barges, acute cross-slopes, large gaps, or transitional lips that may hinder or slow down access. People can have fun exploring how long they can go. Plus, some special chairs and adaptions can enable people’s further explorations.


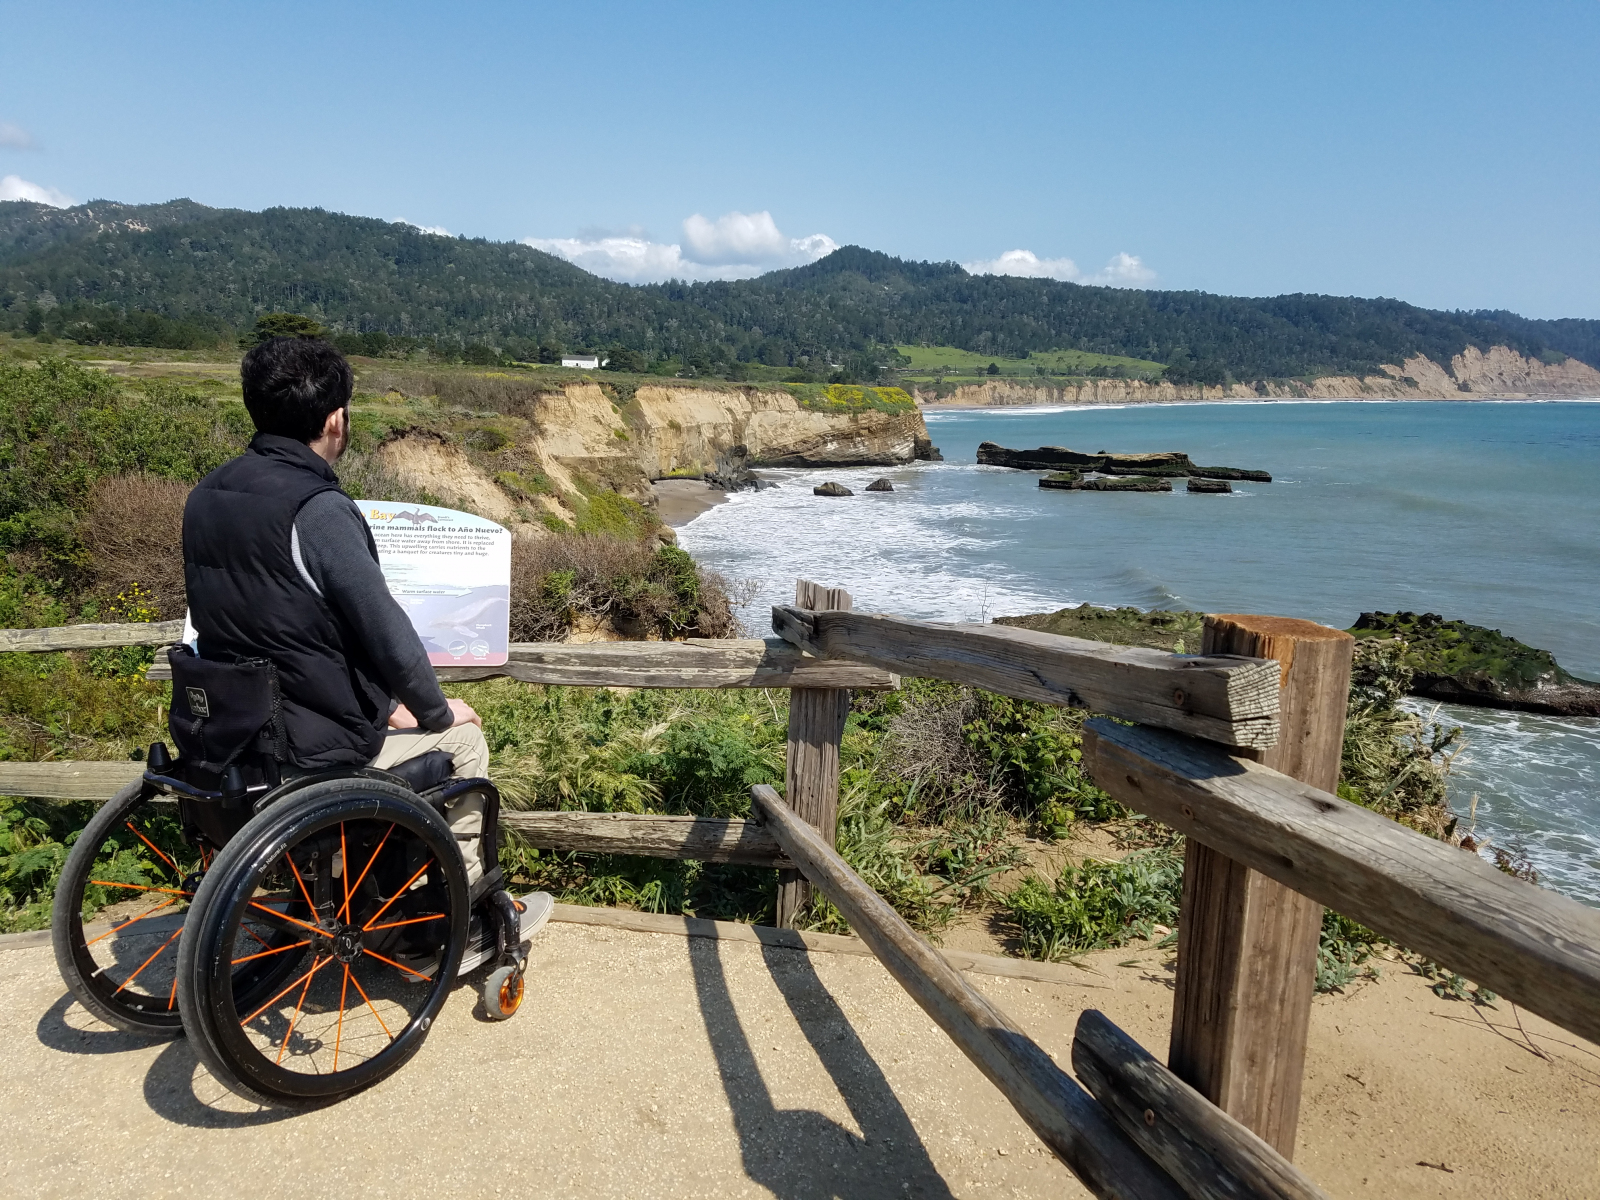
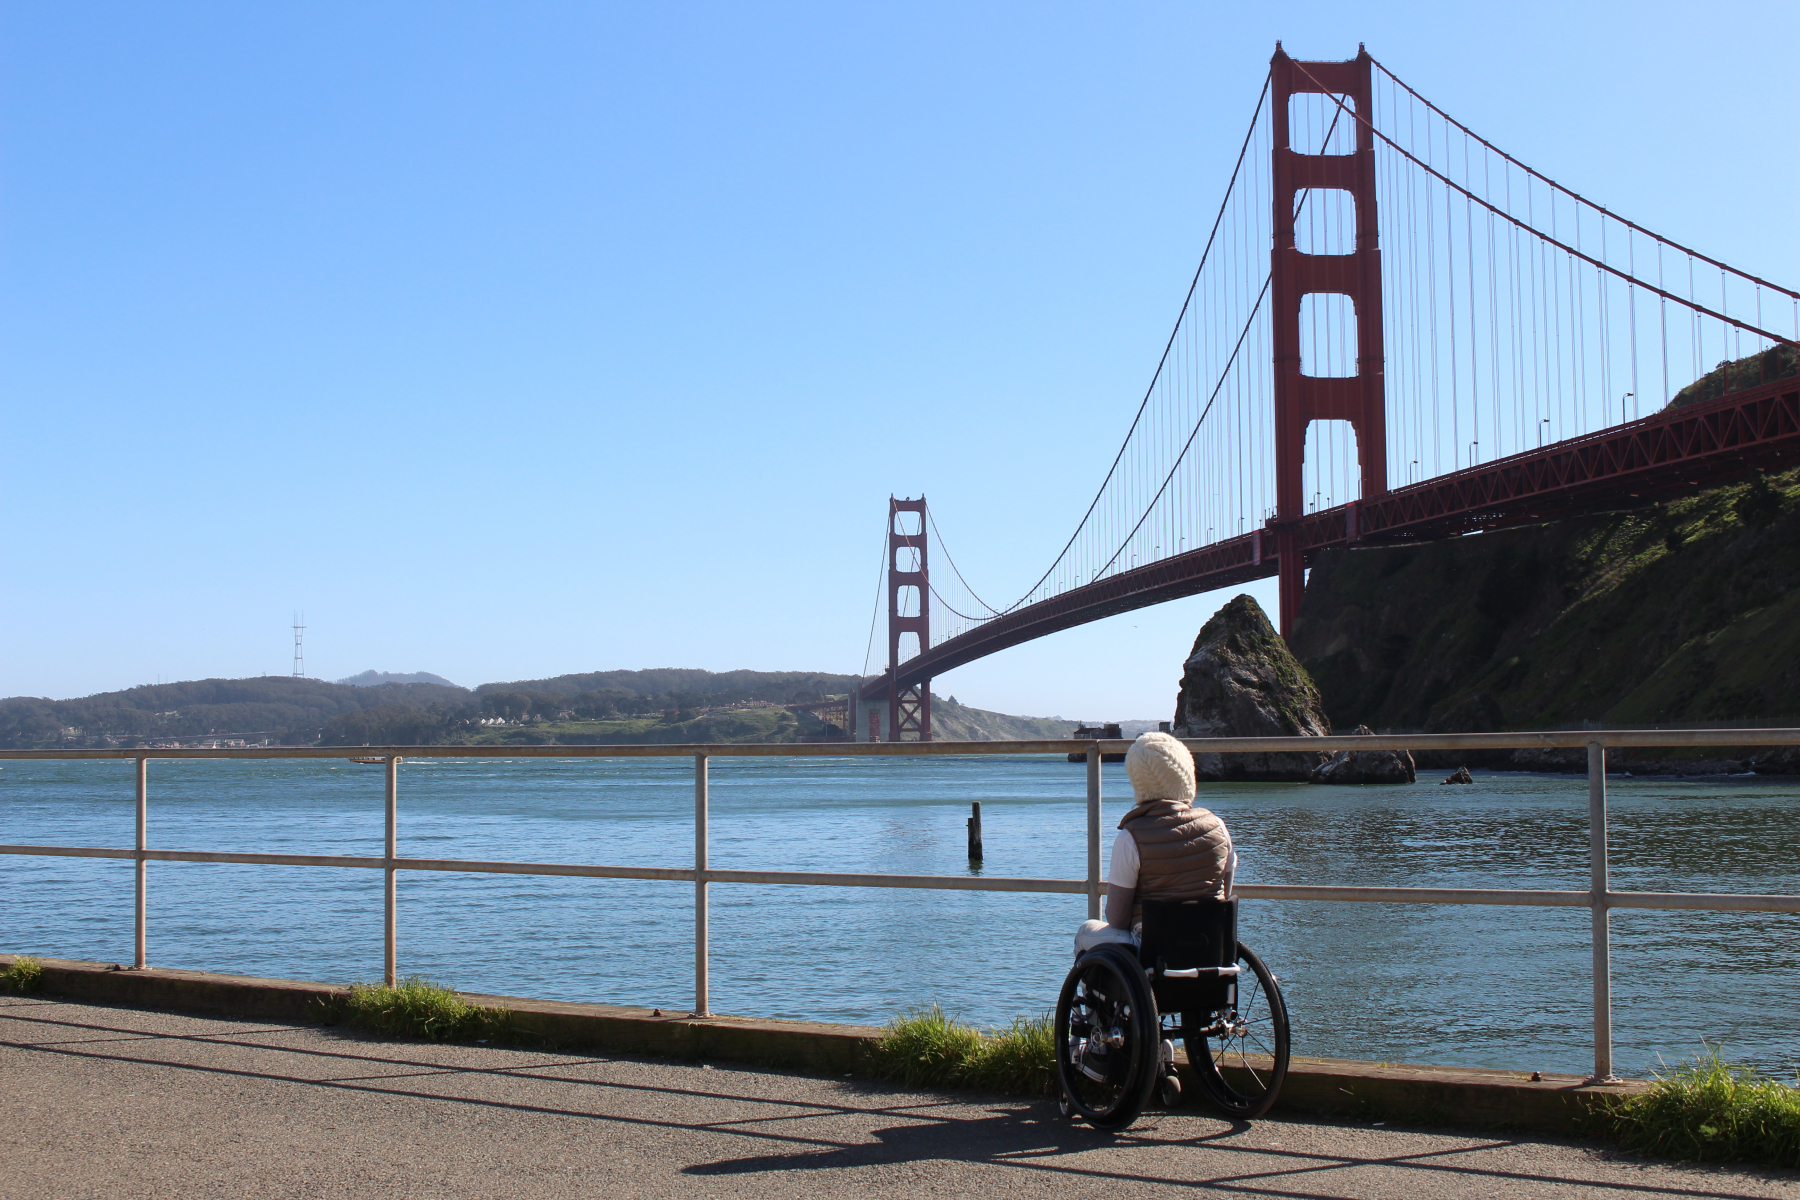
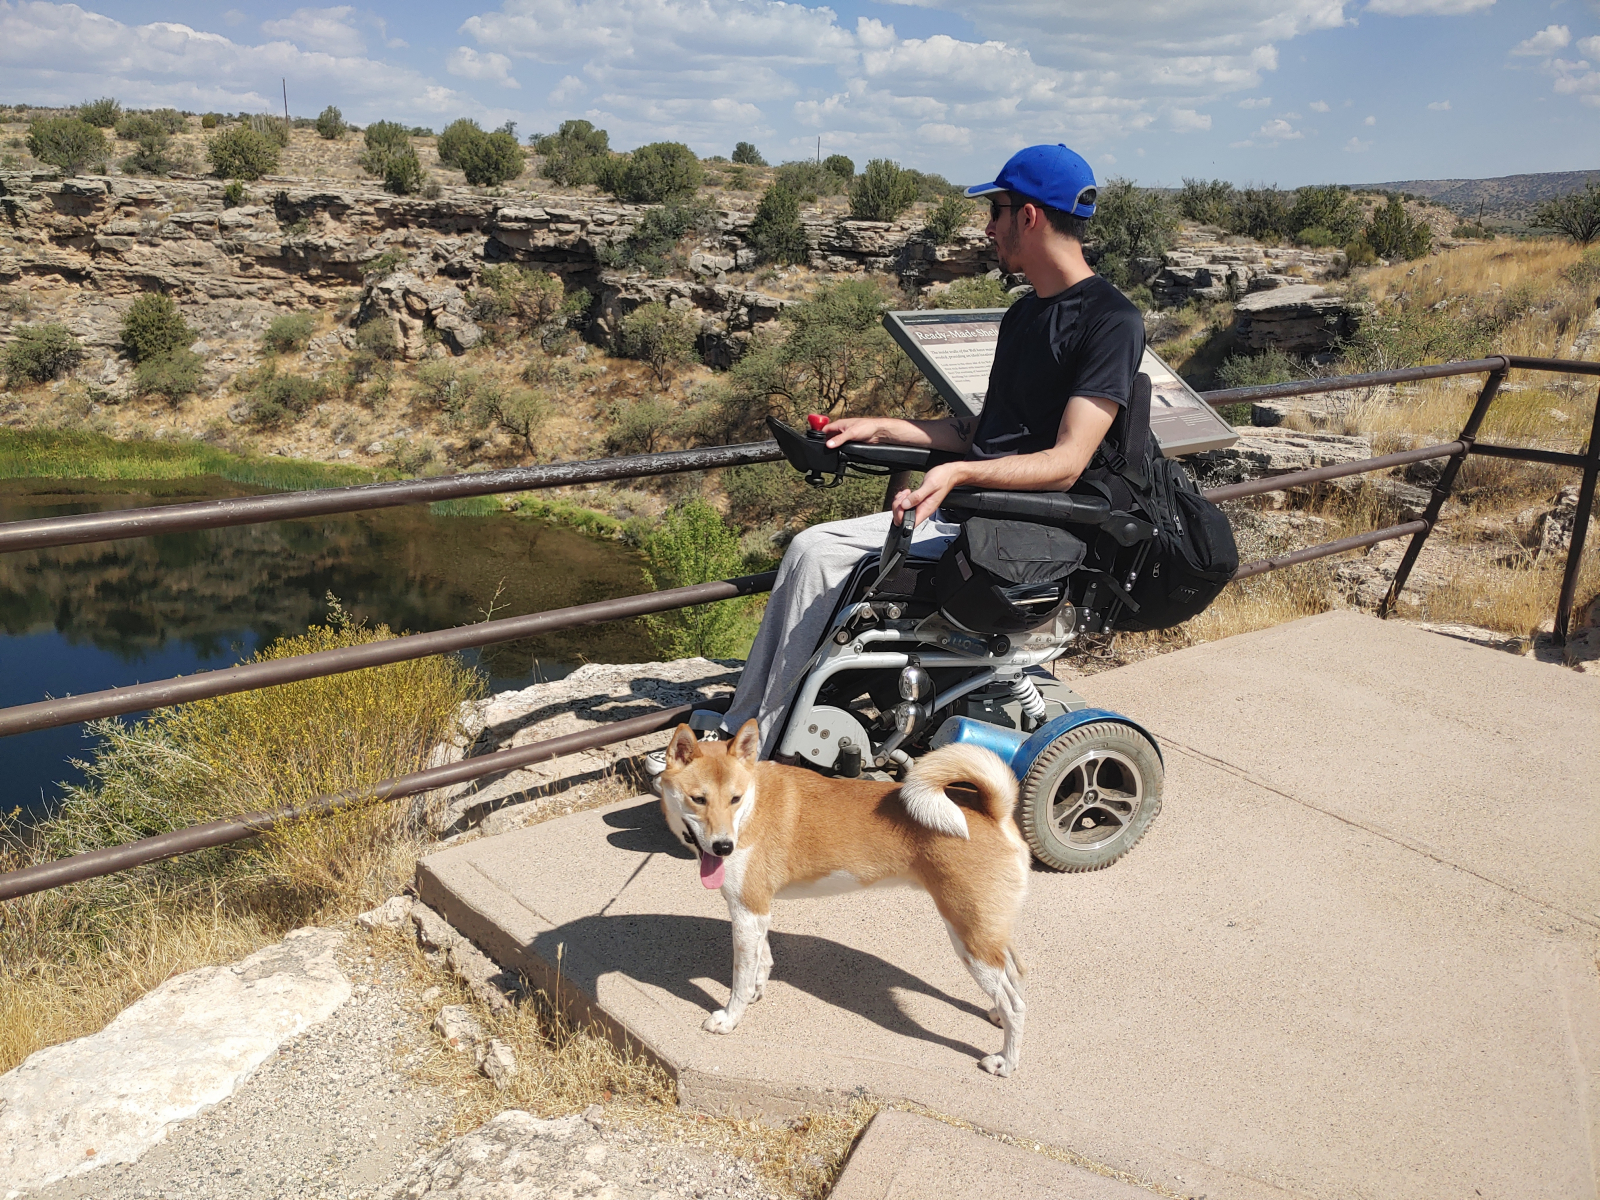
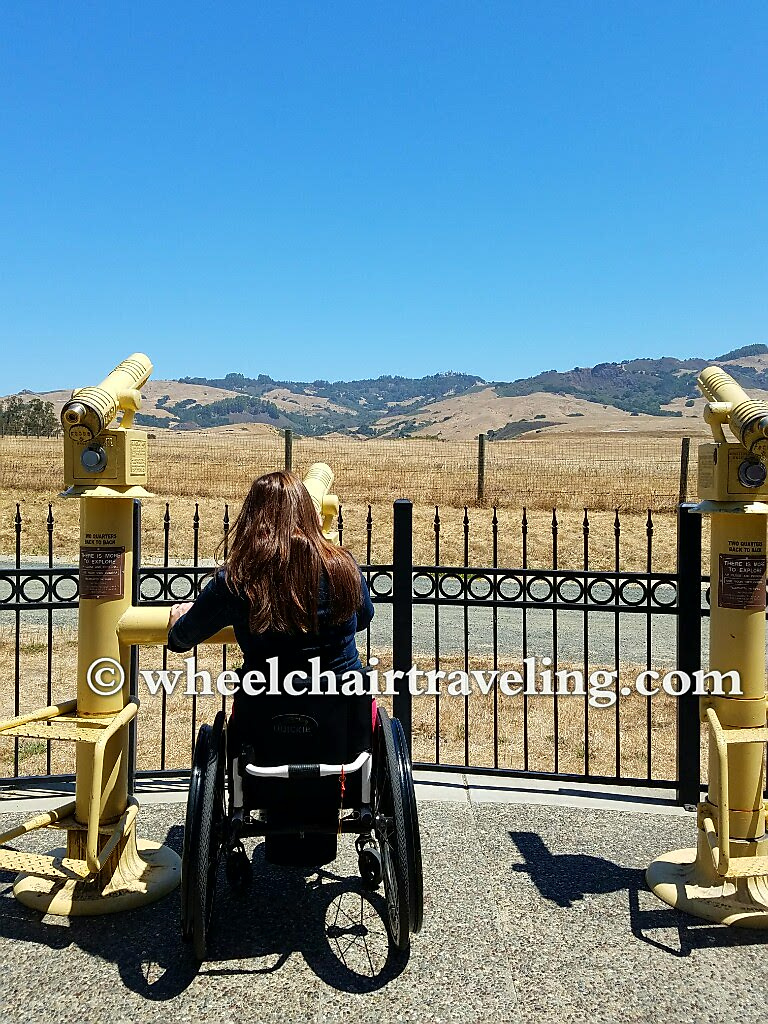
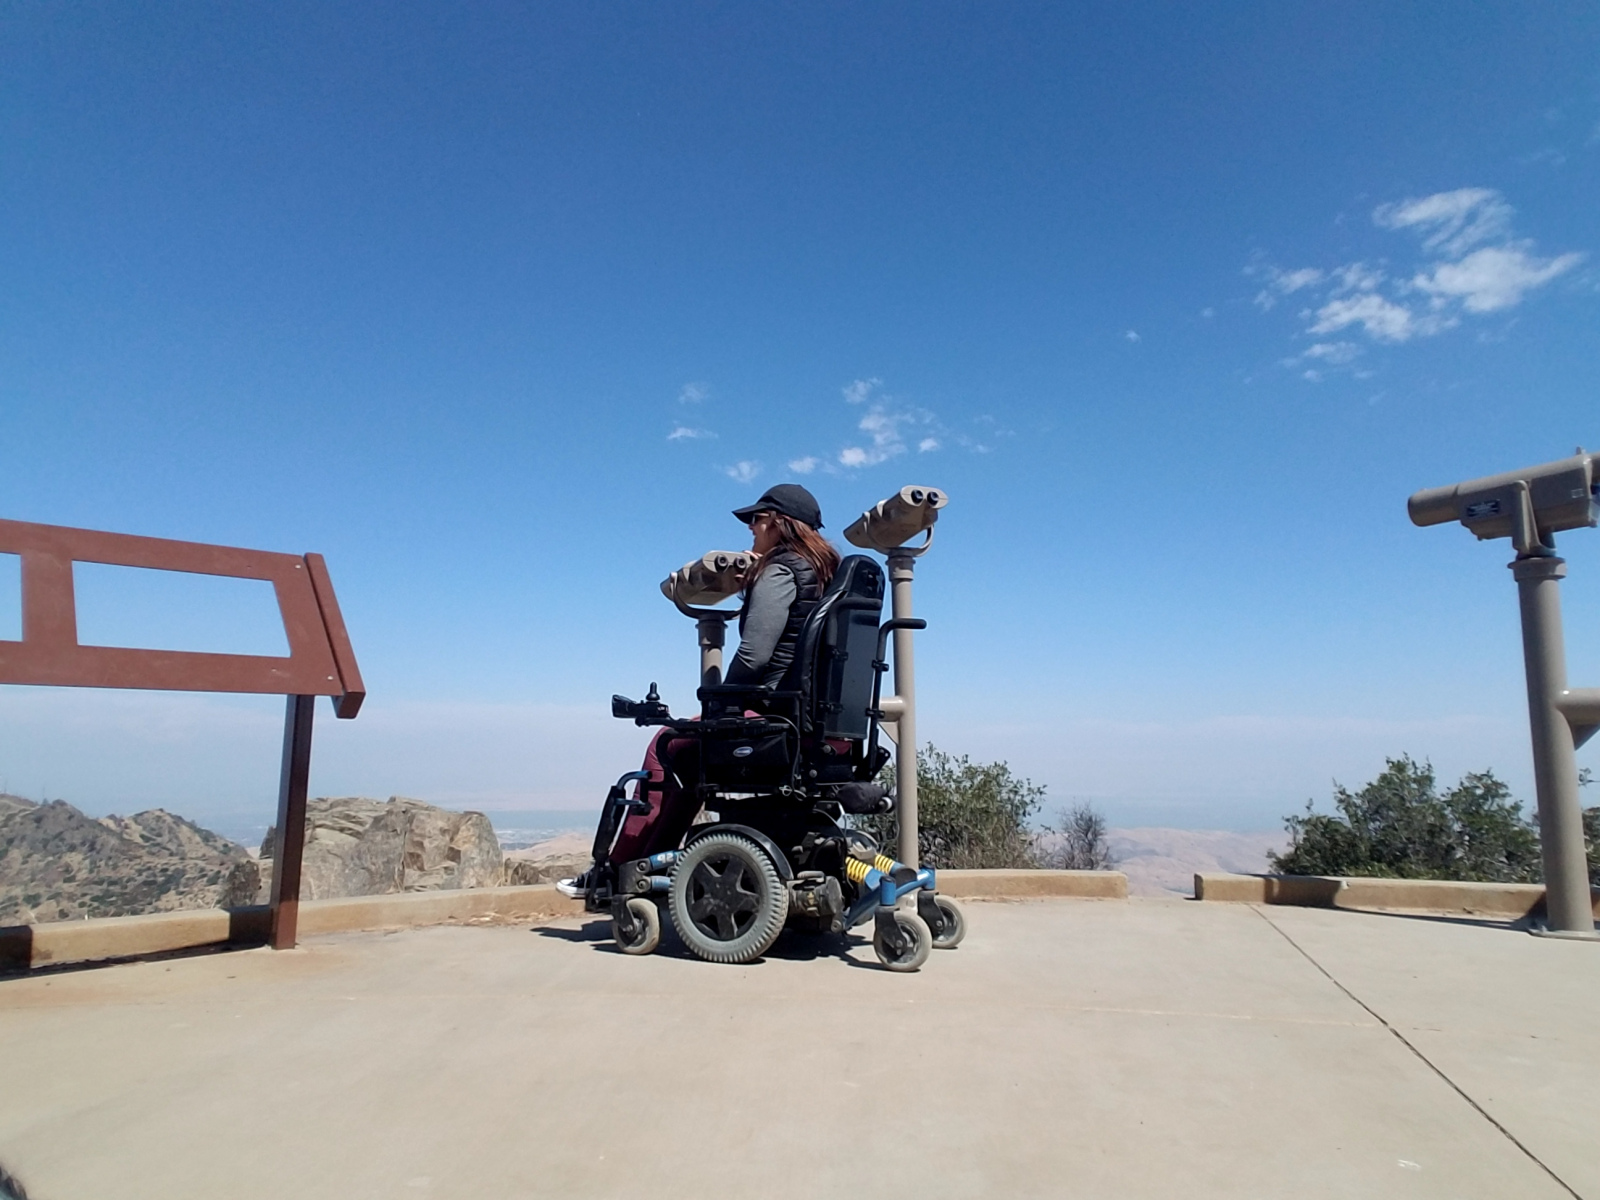
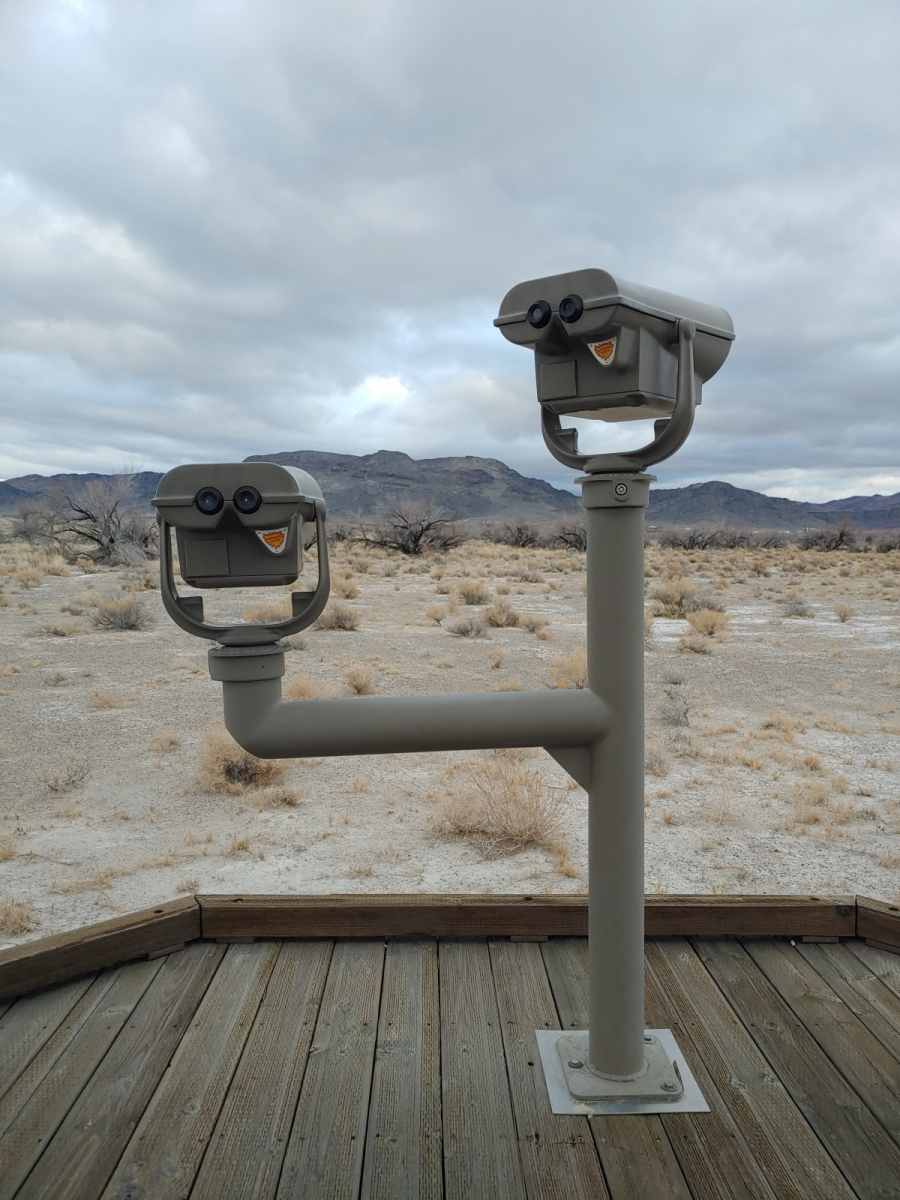
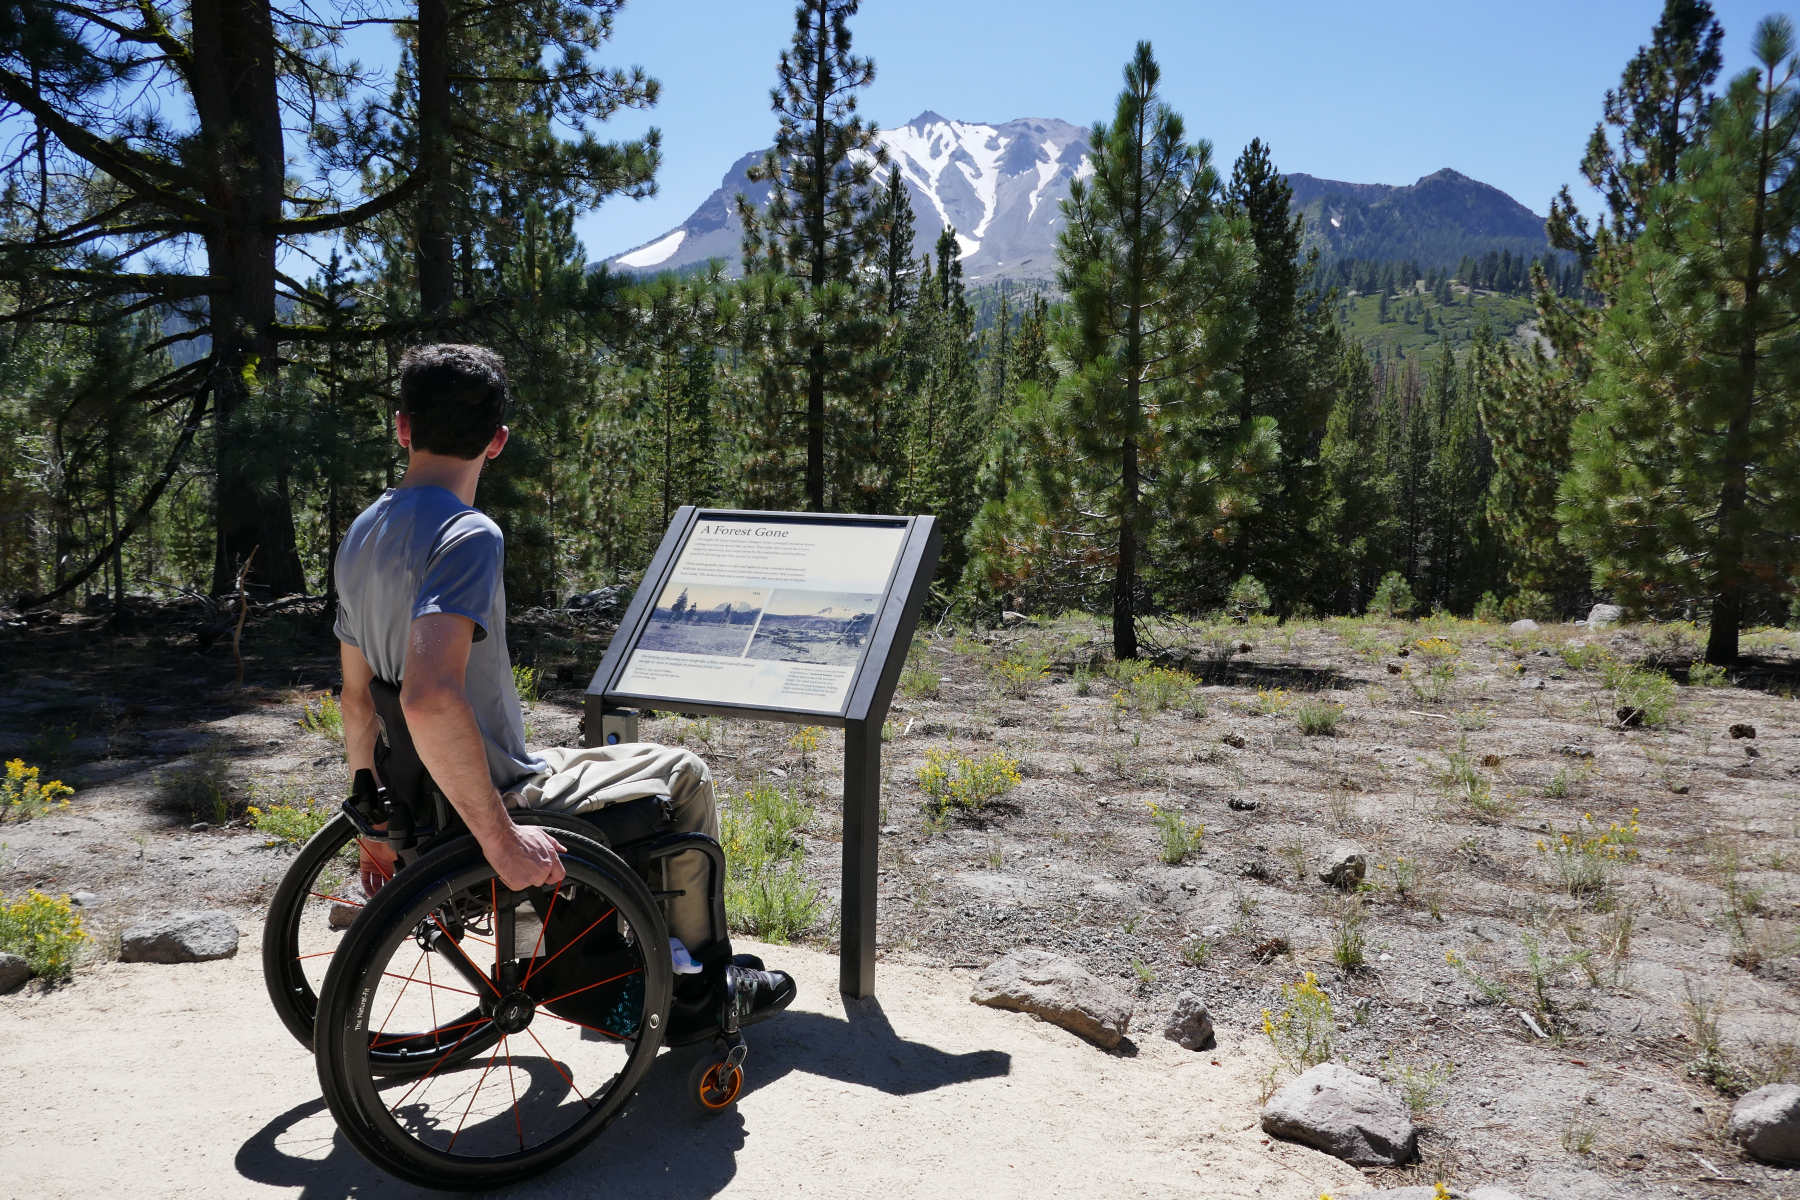
Overlooks + Scenic Points of Interest
- Parking: Have a designated spot marked with pedestrian lines to the overlook. This will also help when it’s crowded as people won’t block the walkway route to the overlook. It also indicates that the overlook has access.
- Many Overlook Points: Start by spacing out overlooks with accessibility to encourage sightseeing variety. Lumping only a close-together group of overlooks with all the park’s accessible features appears poorly planned and does not showcase the wildlife variety.
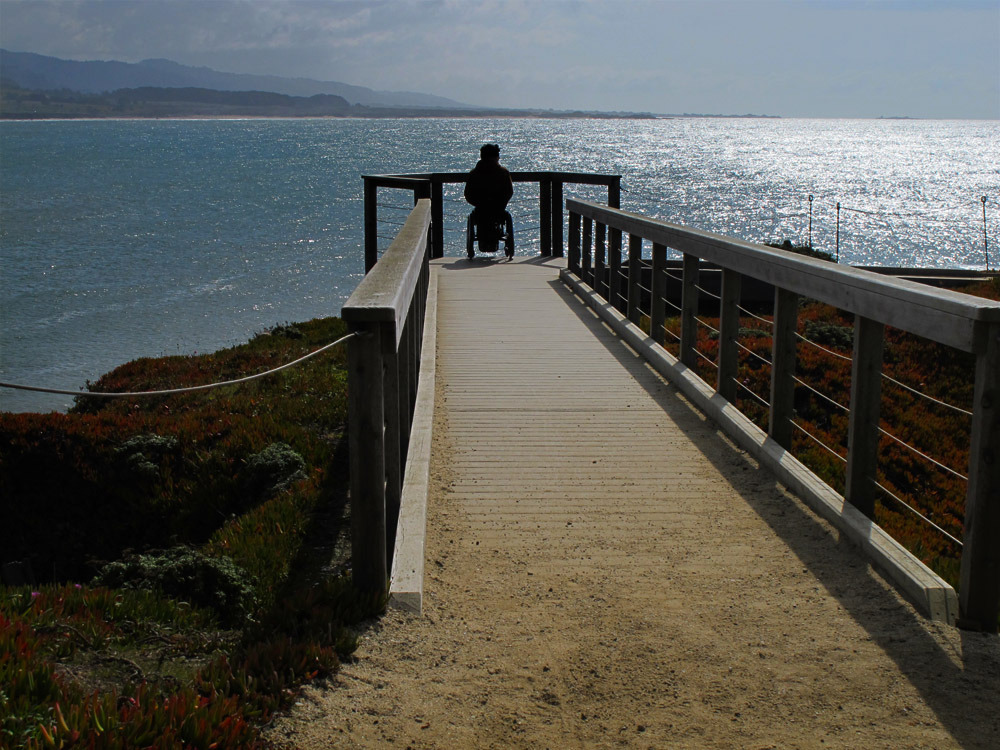
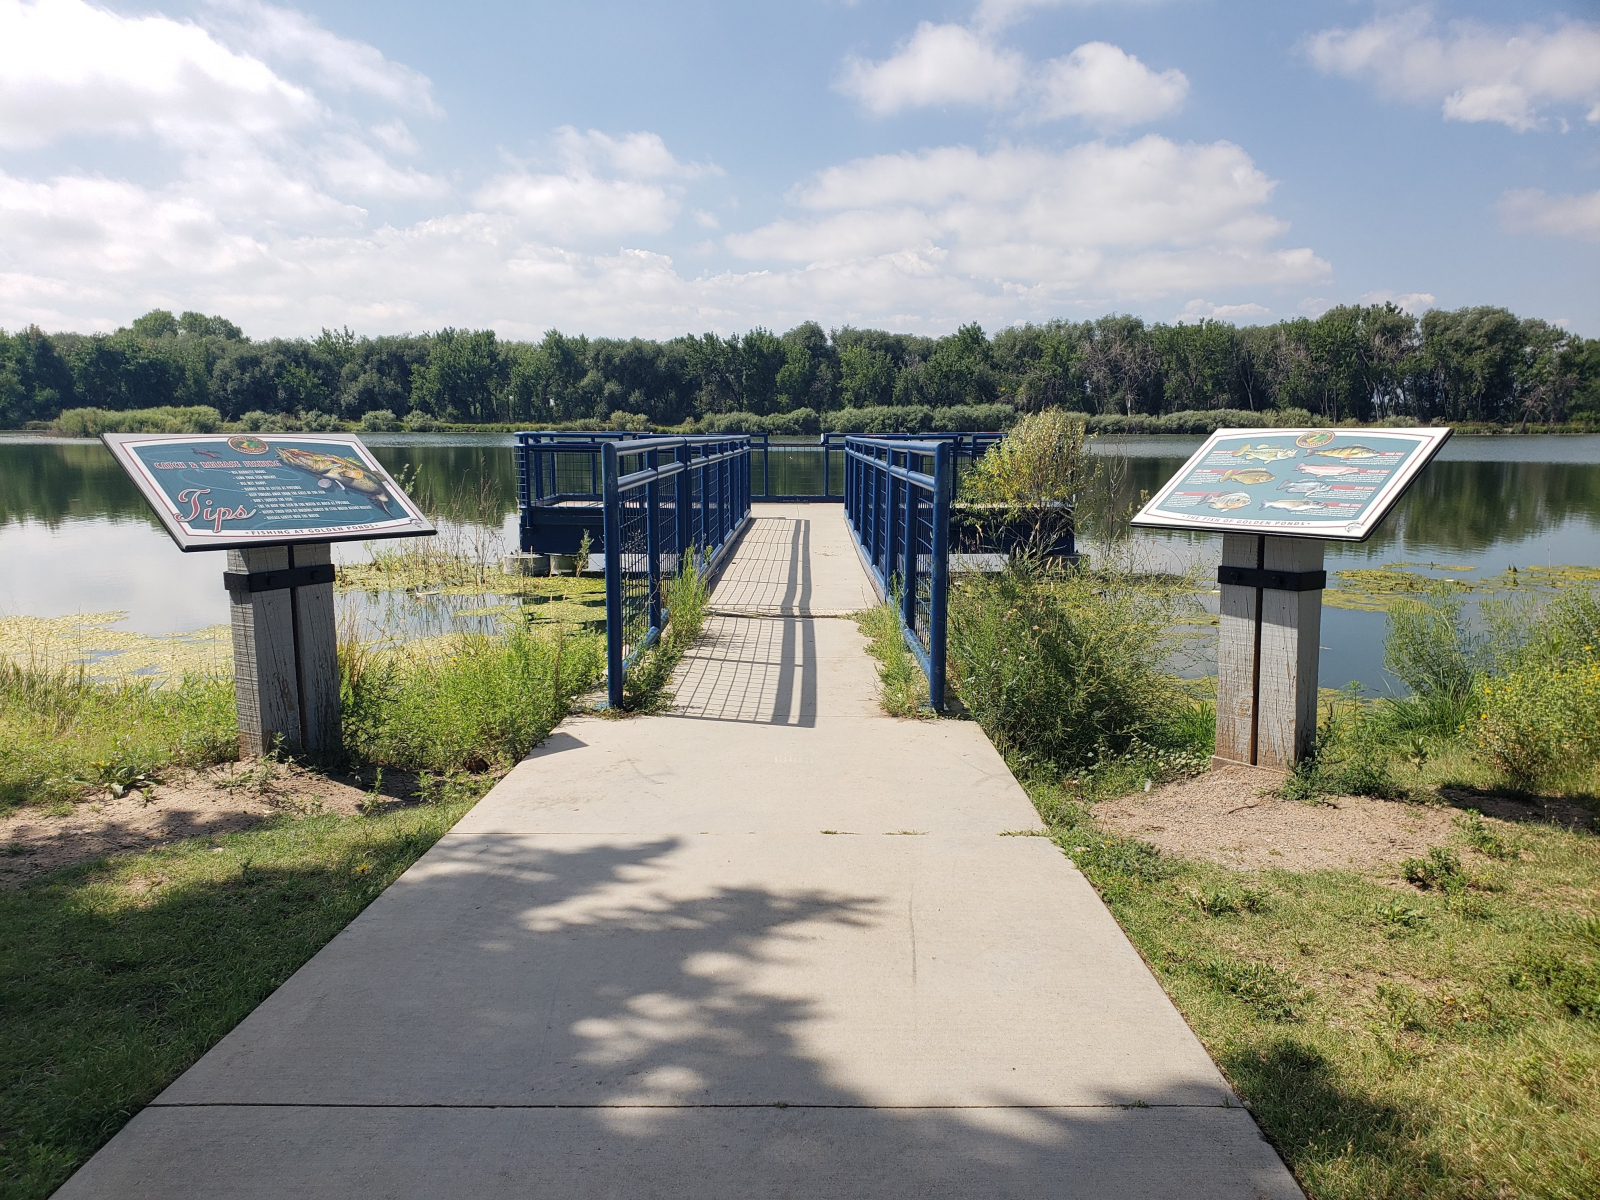
- Platforms: The starting point is to be flush with the surface (no lip or step). The barrier-free path needs a level resting pad at the top; handrails indicate edges.
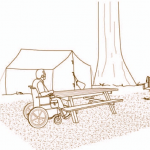
- Benches: Provide at least one bench in the viewing area, and if it’s a large area, consider adding more than one. Be sure there is space next to one of the sides for a wheelchair.
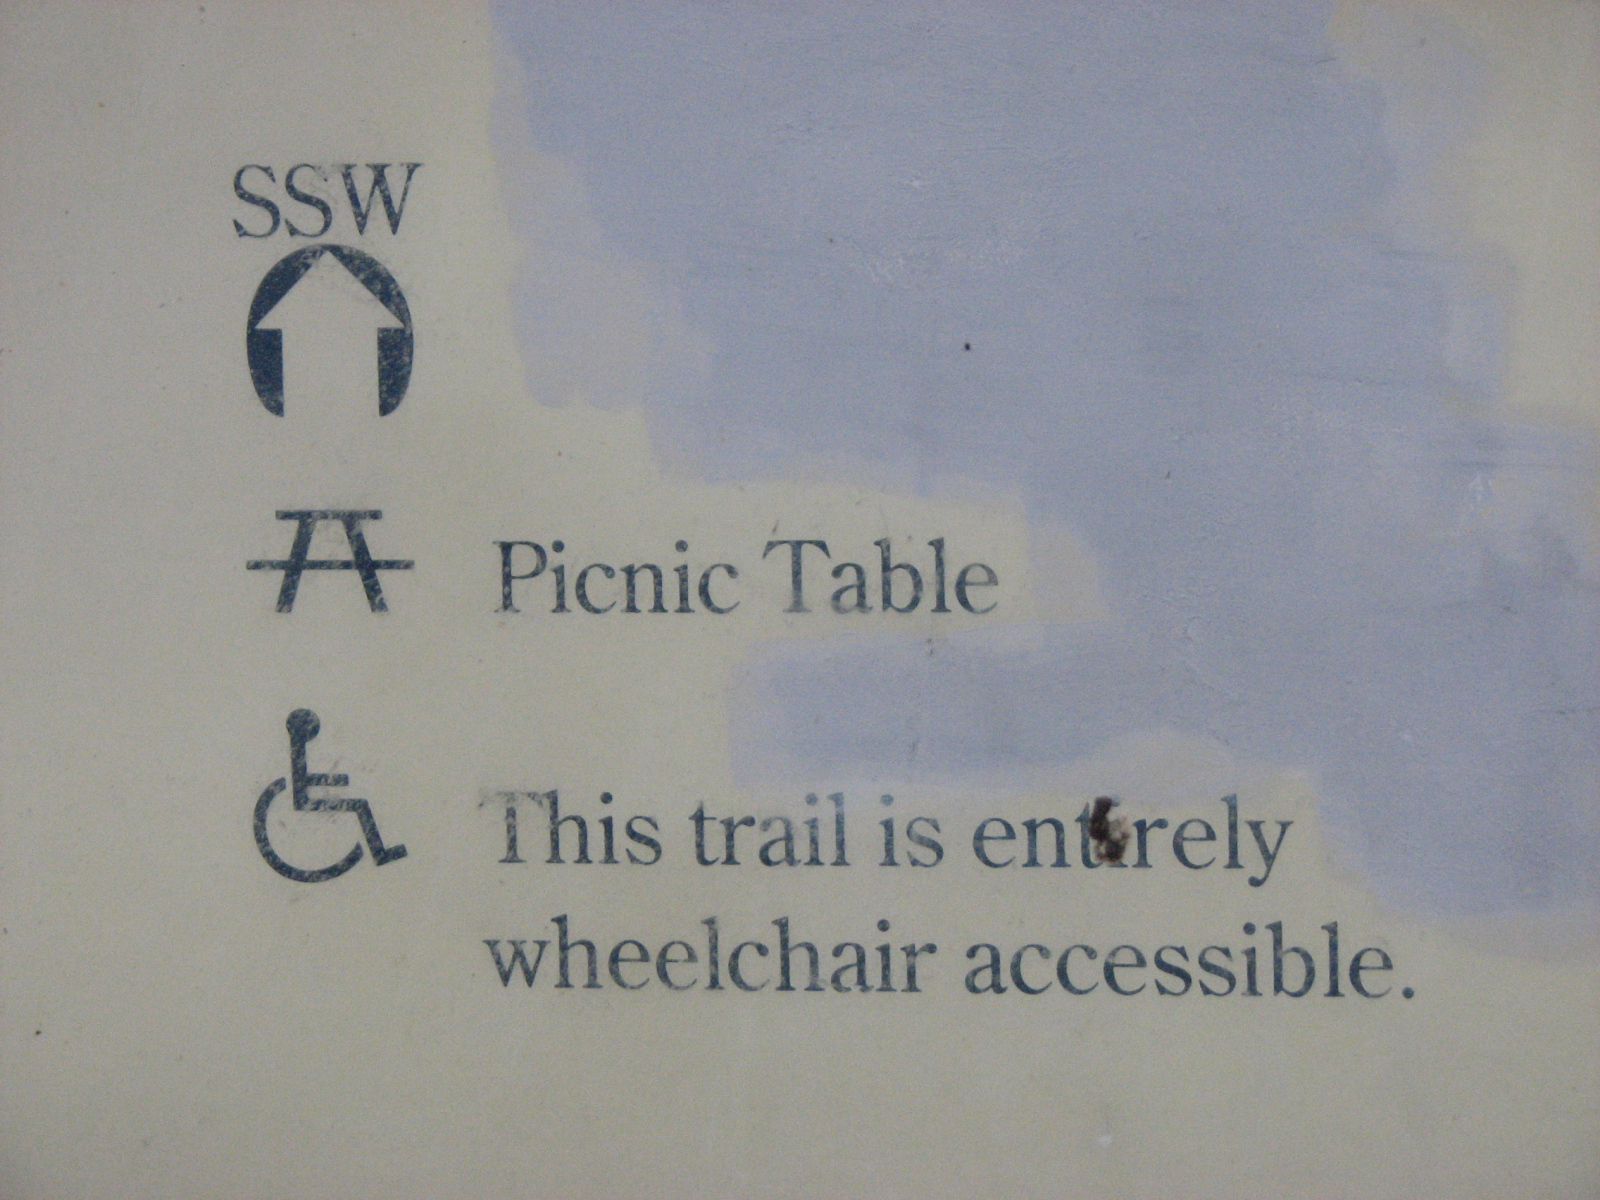
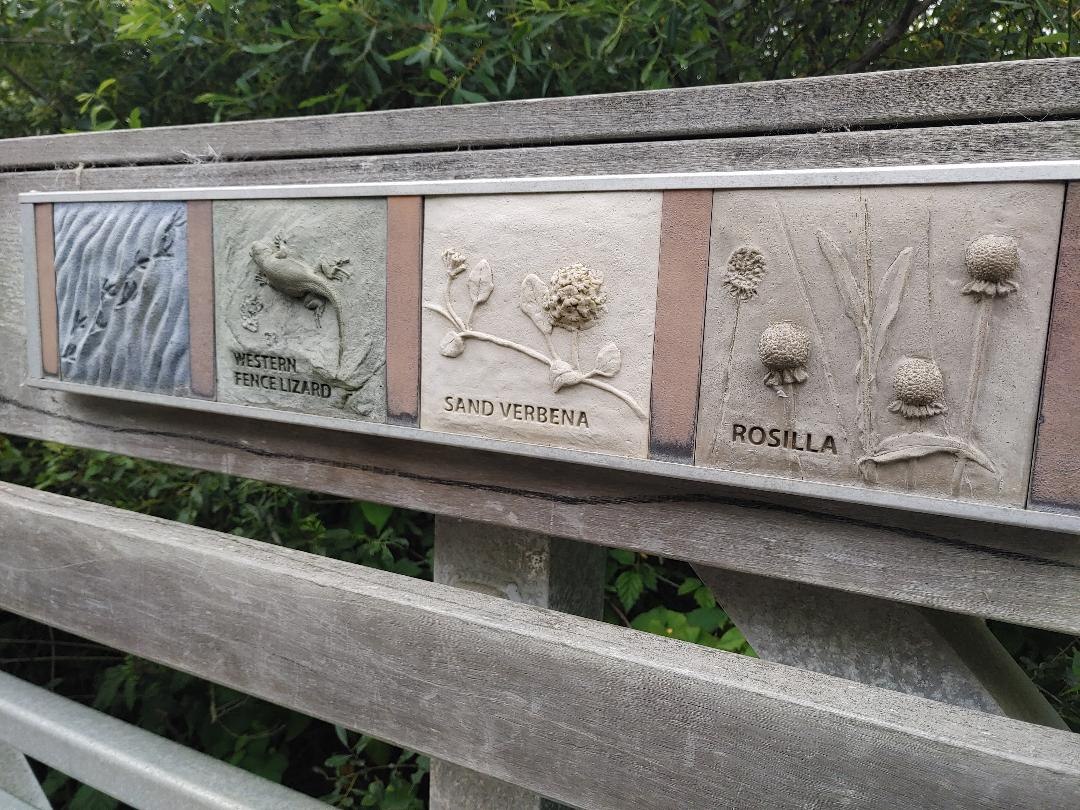
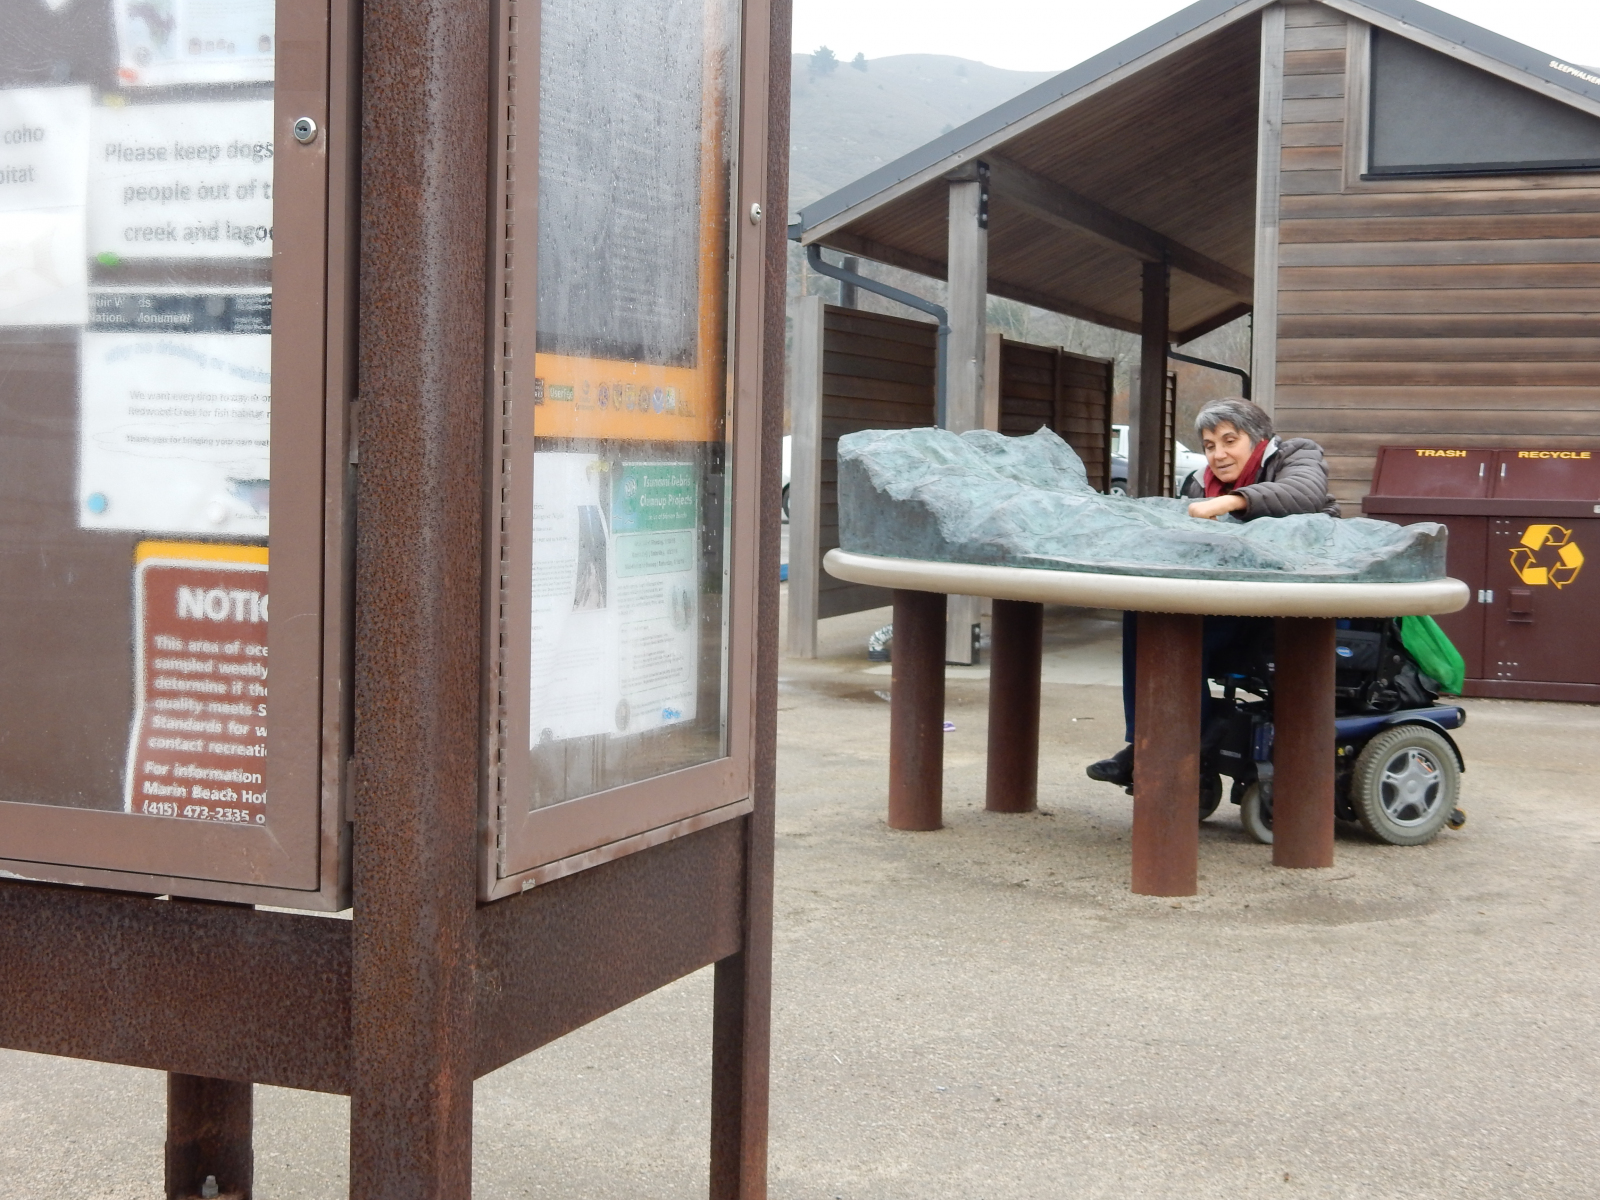
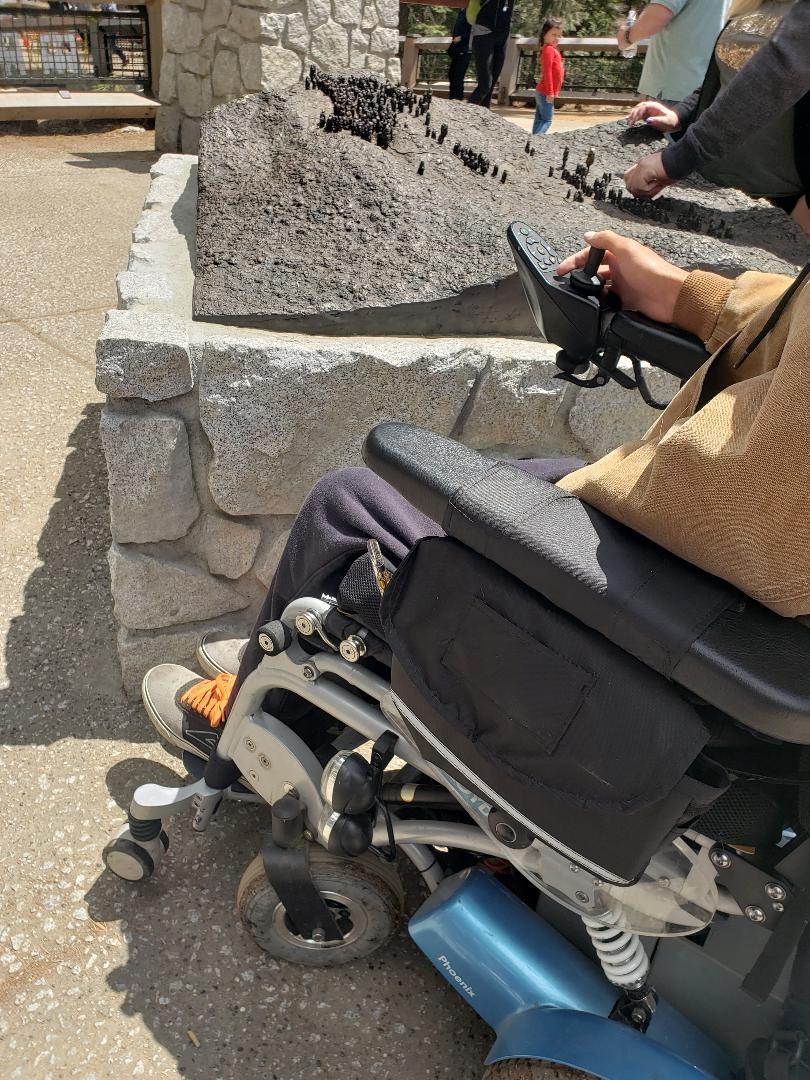
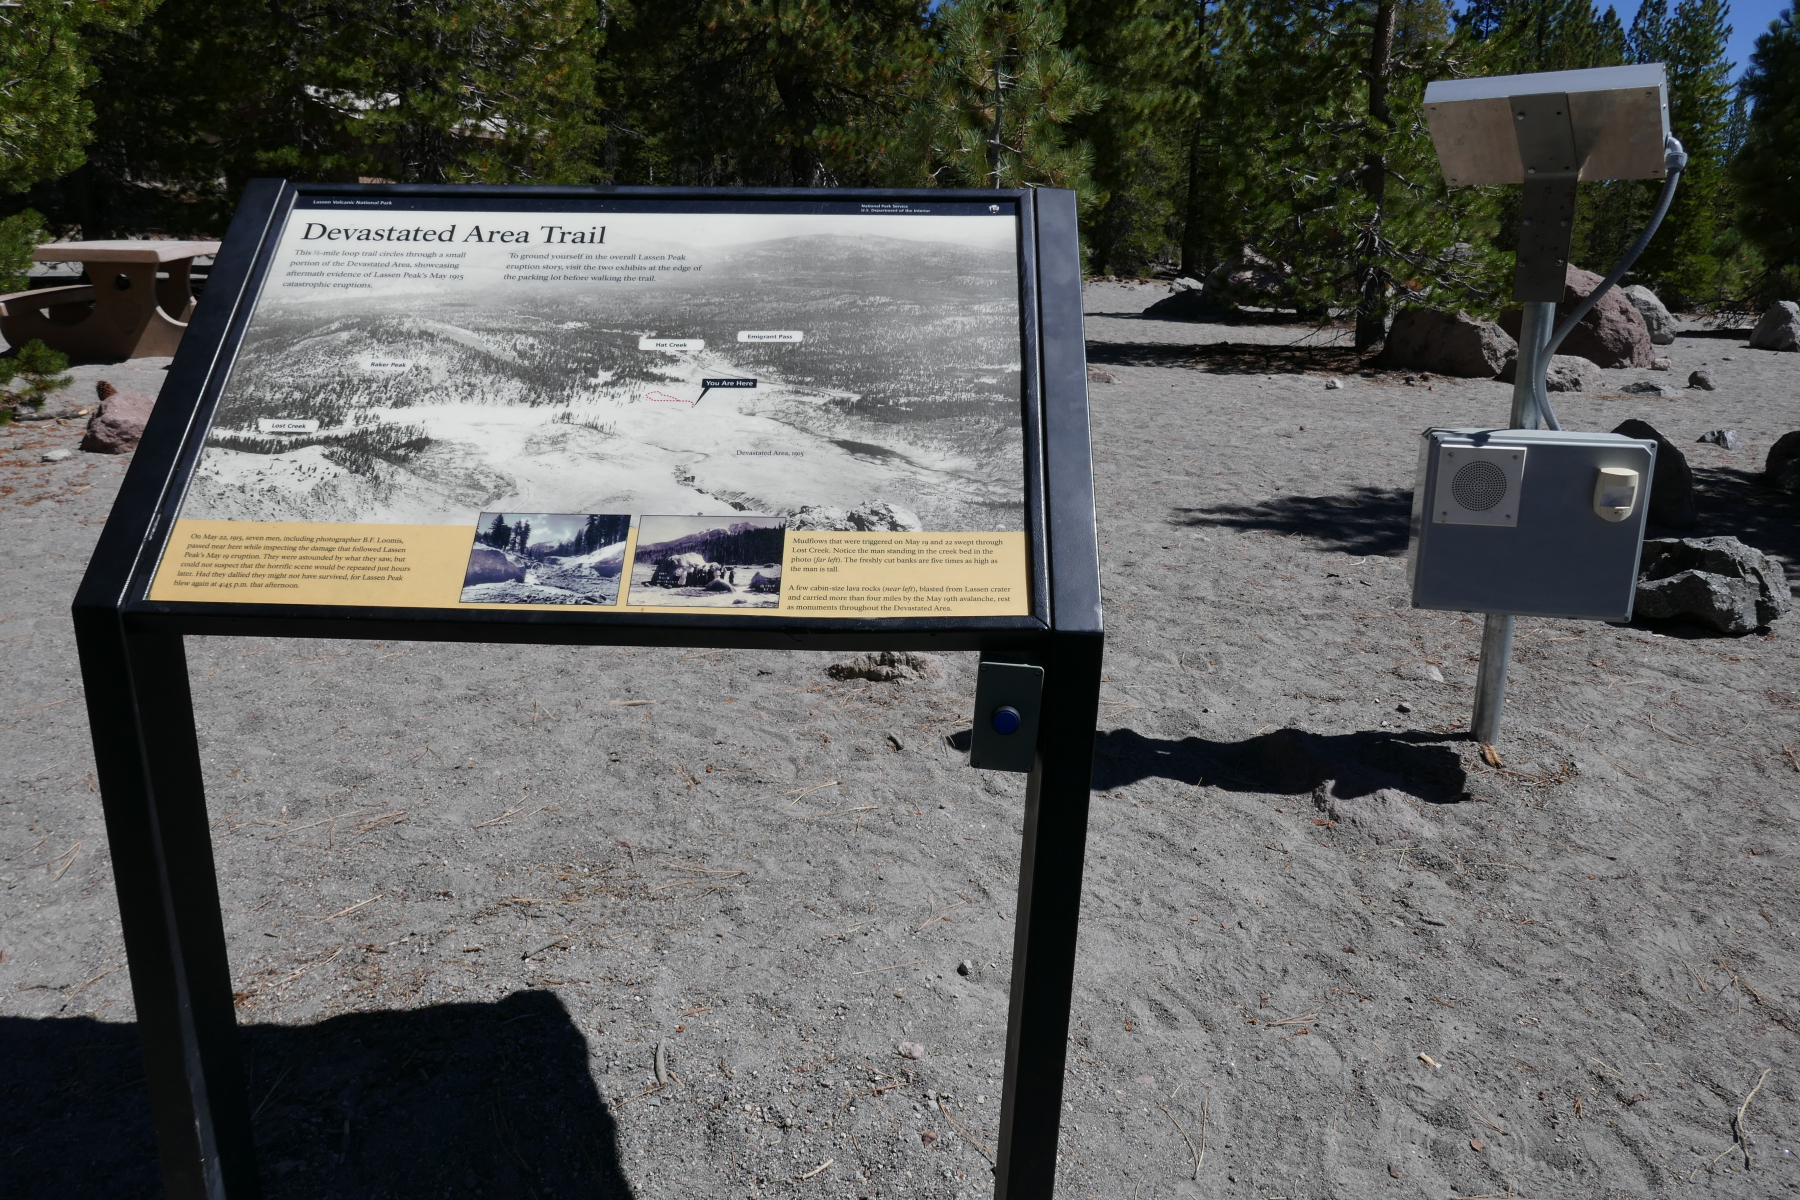
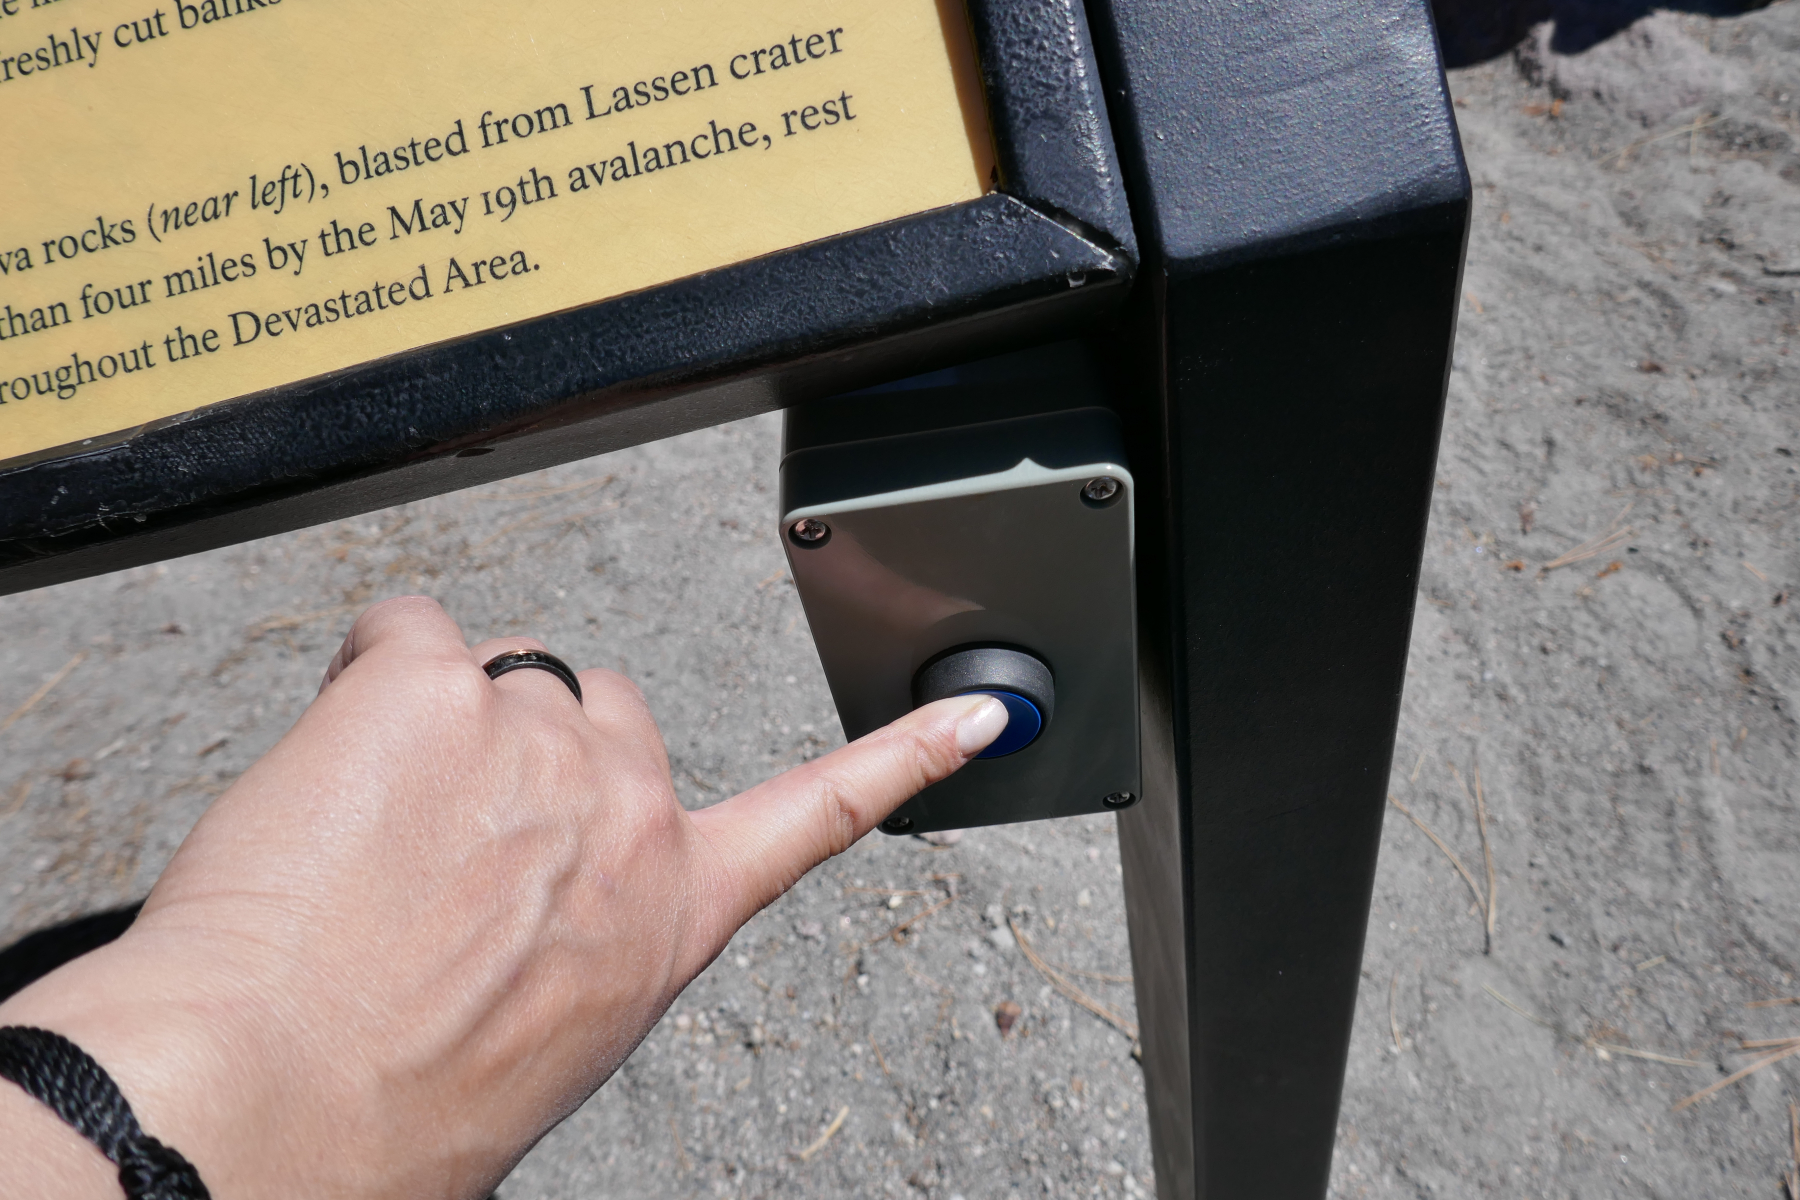
- Displays: Angle description boards to prevent water concentration and to maximize viewing. Information is to be visible from a person in a wheelchair. People often need to get very close to read the info, so pay attention to the surface it rests on and ensure it’s smooth so someone in a wheelchair won’t get their wheels stuck. Have audio-described videos and informational displays as well as tactile displays. Use screen readers, barcodes, apps, and other technology that allow people to get the information they need about the park’s points of interest. See previous sections.


Last updated on December 5, 2023