Access 2 Parks: Public Information + Education
A picture is worth a thousand words, and if it’s a picture of an accessible feature, it’s like a flag waving on a landmark, helping people find what they are looking for. Such signs are seen on websites while driving on park roads, and on various maps and displays in the park that provide information.
Showing accessible features on maps allows visitors to get a general sense of what and how much is accessible. Many people look online before going to a park to make sure the time and money spent to get there are worth the trip.
Around the Park
Not everything in a park is accessible. Even for the prepared traveler, in-park signs that indicate accessible features are important. Besides the ones found along the road, informational signage and maps need to be readable for people who have limited vision or are blind.
- Road Signs: Parks with multiple trails, overlooks, picnic tables, etc. need to indicate the accessible features with a symbol on road signs. Especially if the park has spent the money to create access, let people know what has been done.
– Sometimes it’s hard or impossible for someone with a mobility device, like a walker or wheelchair, to turn around on the road if the desired accessible point of interest is missed. Give people some warning.
– People may be on their way to a visitor center to get a map and miss opportunities if they aren’t properly signposted. - Area Signs/Maps: Every visitor needs to know basic options, like where bathrooms and food are located, so inform people. When there are several outdoor attractions and activities in the area, but not all are accessible, let people know what accessibility may be possible. Indicate the accessible routes.
- Signs: For instance, use the informational board at a visitor center. A visitor may see a sign for an accessible bathroom and parking spot from the road and assume there is something more to that particular area. Instead of having them figure out that there’s nothing else, that will happen, have a map showing alternative attractions close to that location. This is a powerful, positive, and informative interaction that doesn’t require in-person explanations.
- Maps: Hand-held maps and maps displayed in the park can identify the best accessible features with an accessible icon starred and labeled “Accessible Details at…” Environmentally friendly and strong stickers could be used on existing in-park maps instead of printing new maps.
- Cell Phones: Use an app or barcode on park maps with the access symbol for people to access information with their smartphones.
Trails + Points of Interest
At the trailhead, site, or landmark and on the trail, signs can be used to provide access details, and it begins with parking.
- Parking: Designated parking spots need signs and clear paint jobs to prevent misuse from others who claim they “didn’t see.” Designated parking is often at the front, but not always, so having clear signage where a spot is available directs people immediately and keeps traffic flowing. Signs are better than just paint jobs because they usually can be spotted faster, and painting requires more maintenance. Having clear marked lines indicating the ADA boundary is necessary, especially in popular areas. When another car parks over the line, this may prevent necessary aisle access for wheelchairs and vans with ramps.
- Trailhead: Use a color-coded graph to map out where benches are located as well as the slopes/grades of the trail. For example, 0-2% = green, 3-5% yellow, 6-10% = red, 10-18% = purple. Indicate on the trailhead map where benches, resting pads, and other points of interest, like bathrooms, statues, etc. are located. With these details, people can determine how far on the trail is possible; it’s up to people to set their limits. For example, maybe a person can only walk a half mile before resting, but they would want to know if a waterfall or meadow existed within that distance with a bench. Or if a trail is only accessible to a certain point, then show how far along a person can go. Maybe it’s worth it or maybe not, but gives people the freedom to explore and make their own choices.
- On the Trail: Sometimes a trail is only accessible to a certain point, as noted. Letting people know how far they can go ahead of time is needed, but it’s also important to note when accessibility ends on the actual trail itself, especially if trail conditions become unsafe like a cliff or hill is approaching. If people wish to continue on a trail, then this is their choice. Some trails may appear to be accessible, i.e. a paved trail, but if it’s not, a sign is needed to detour hikers. When there is an informational board/panel on the trail, make it readable for the blind. Use tactile models and/or auditory devices to explain what it is.
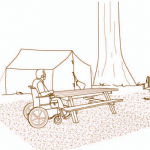
- Picnic Areas: For large picnic areas, signs can be used to indicate accessible pathways to picnic tables that are ADA-modified. Help people by flagging this with a sign so they don’t have to spend so much time looking, or worse, assume no picnic table’s accessible and give up. For picnic shelters or when tables are placed close to one another, paint the end of the most accessible table blue. This shows park visitors that out of the twenty tables, for example, there are two with extended ends. See examples under “Picnic Tables + Grills.”
Website Preplanning Information
Don’t make people who use wheelchairs have to click through so many website pages to find the park’s accessible information. Allow people to get the information they need quickly. Have the information in clear, obvious locations on the website, including directly from the homepage. For legal reasons, some parks are restricted to certain web page formatting, so here are a few examples of how to implement accessible information online.
- Homepage Navigation: A menu tab, text link, or icon needs to be located on the homepage that links directly to a page or a menu page of accessibility information. This frees up space on the home page for general park and visitor information. After clicking the accessible icon on the CA State Parks, a page appears where people can search all CA parks based on activity interest, such as hiking or camping, or search by region.
- Utilize Menus: Don’t hide all access info under another category. For example, on the East Bay Parks website, there is a menu column on the right side that includes links for parks/trails, activities, kids, etc. This homepage menu needs to have an accessibility link because as it stands, people have to know to navigate to the Parks/Trail section to see if there even is an accessibility section. What if the person is just looking to do an activity and goes to that page first, or this person has a kid in a wheelchair and goes directly to the kid’s page? They will not see the accessibility info.
- Online Maps Signage: Maps help people find what they are looking for in a desired location. Many people begin their search online to see what outdoor destinations are possible and worth going to. There are national, regional, state, local, and in-park maps that are made available to the public online. Either incorporate accessible features into the general map or create a separate map of accessible features. This is a relatively easy and cost-effective way to digitally manage public accessibility information. Incorporation is highly recommended.
– Multiple Parks: When using maps online for multiple parks, indicate what parks are accessible. Or if the majority are accessible to some degree, then indicate the ones that are not; either way, be clear on the distinction.
– Single Park: For specific park maps online, indicate accessible features, at least for the major points.
Public Presentations + Outreach
Reach out to the public to share how the park is accessible and get community feedback on what is important and suggestions for improvements.
- Public Events: Specialized expositions, like the Abilities Expo and the No Barriers Org, are occurring throughout the year all over the United States. Regional events, like BORP’s annual Sports Fest in Berkeley, with adaptive outdoor recreation, are also obvious choices for promotion. Get a booth or sign up to speak at these kinds of events.
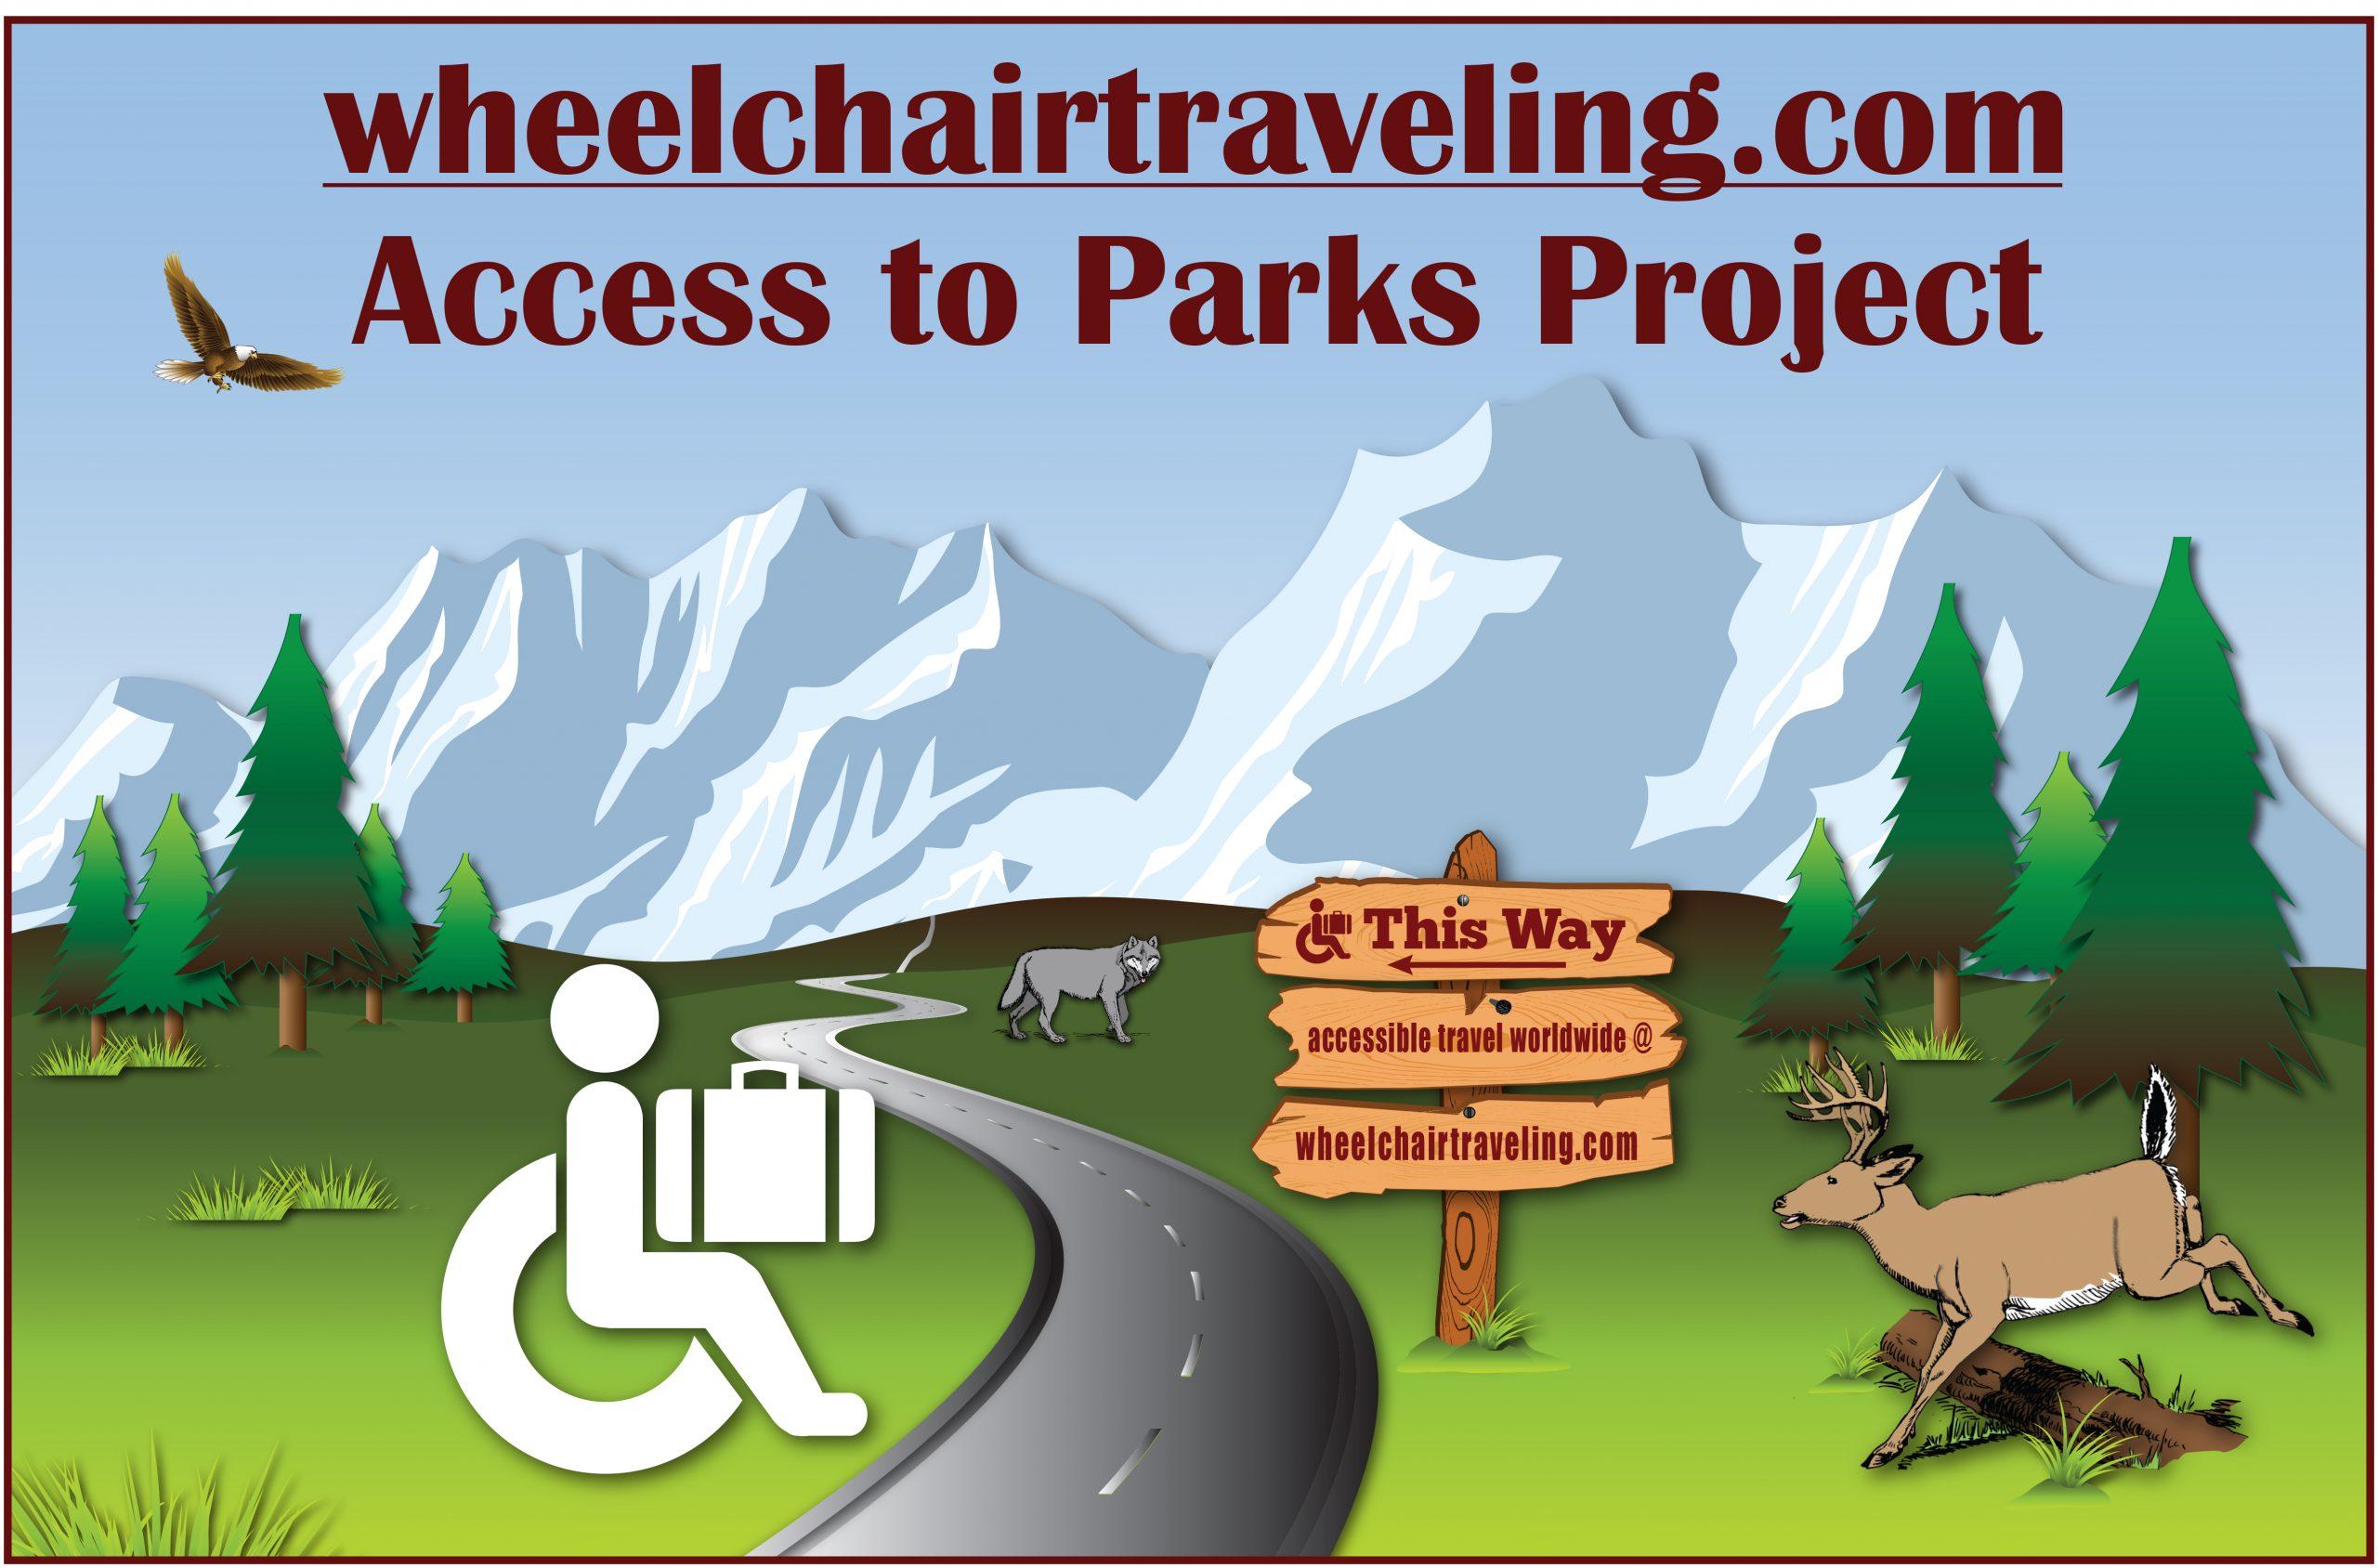
- Specialized Websites: Partner with quality websites like wheelchairtraveling.com that are connected with the accessibility community and report on outdoor recreation.
- Public Forums: Hold public forums to get feedback on what people want and expect at your park as well as how to improve things. Don’t spend a ton of time and money on access changes that won’t make much difference.
- Park Days: Host a day in the park with a ranger-led hike where you can discuss accessibility in the park and get priceless feedback.